Tag: baking
100% birthday-worthy
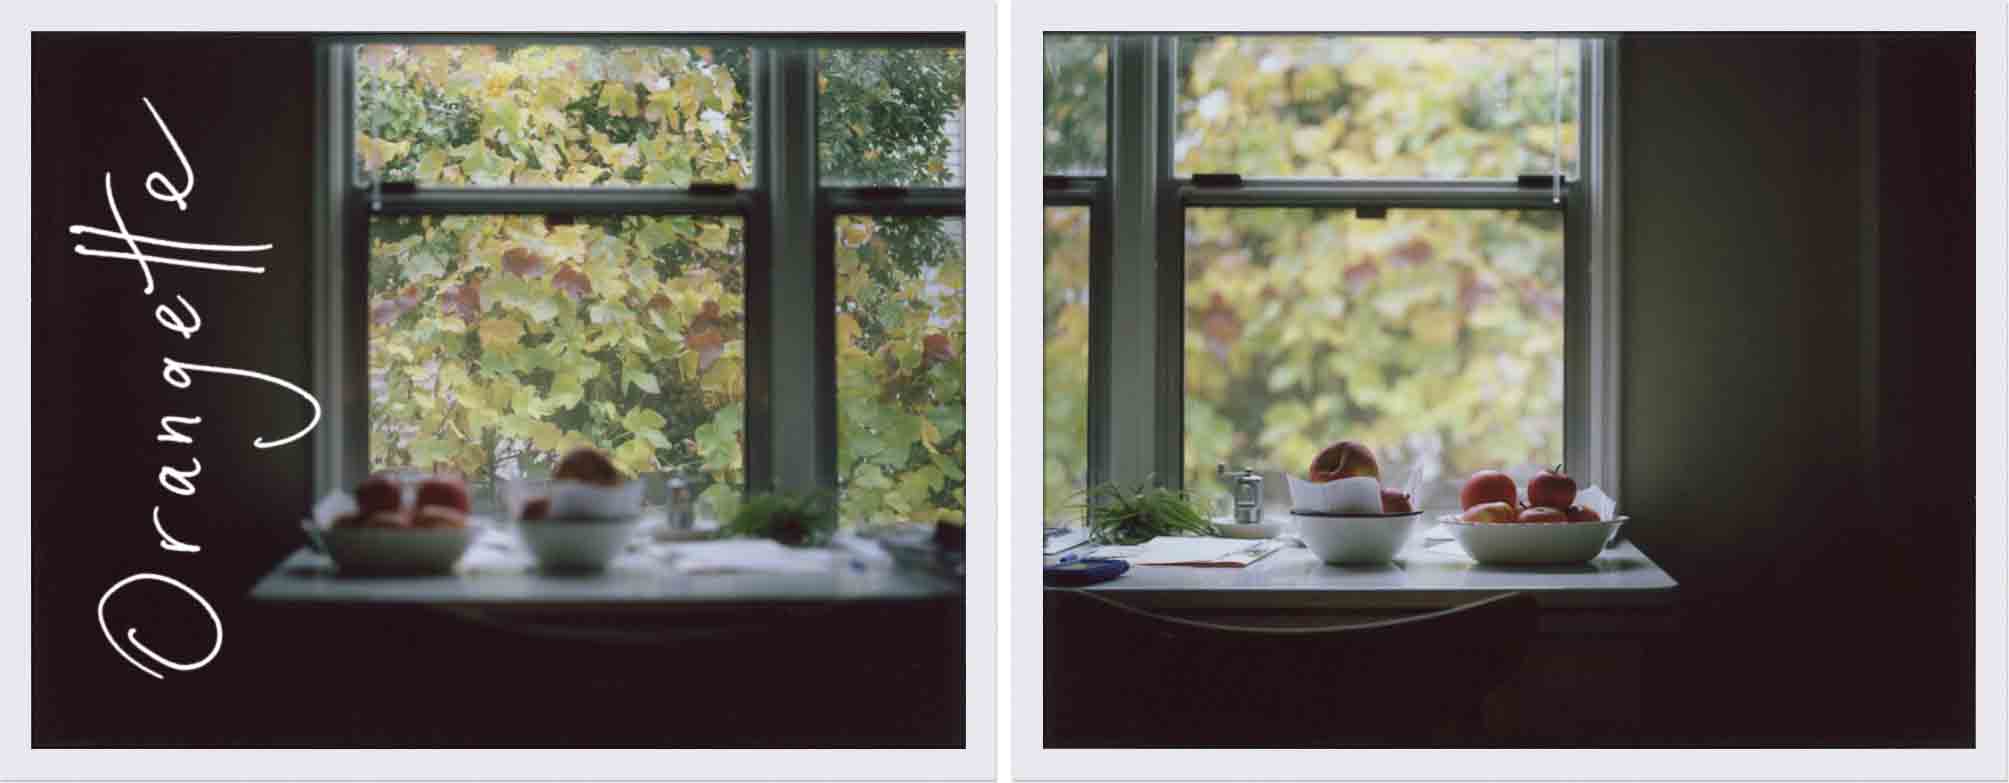
In mid-September, I got out my digital camera for the first time in a geologic age. I’d tried a new-to-me recipe, and it turned out so well that I wanted immediately to rush to Ye Olde Ancient Blog and write it up. So I took the pictures. And then I spent approximately six weeks sitting around on them, perhaps confusing them with an egg and myself with a laying hen. Now here we are! Aged like a fine egg, as the saying goes.
You might have heard of this recipe. It deserves to be heard of. David Lebovitz wrote about it back in 2015, and Shauna Sever in 2016, and who knows who else. Now’s my turn, because somehow I didn’t catch those posts back in 2015 and 2016, and it took me until late 2017 to join the party, and I won’t let that to happen to anyone else. The recipe I’m talking about is a blondie from The Violet Bakery Cookbook, by Claire Ptak, a Californian transplant to London and owner of east London’s Violet Bakery. I’d heard of Violet here and there, and I’ve always wanted to visit. Instead, I have the cookbook.
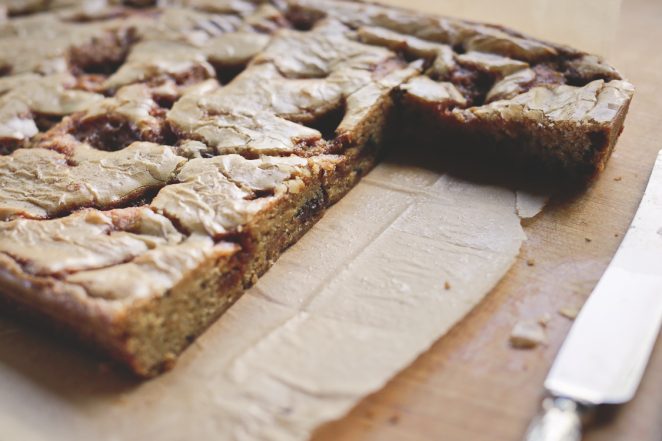
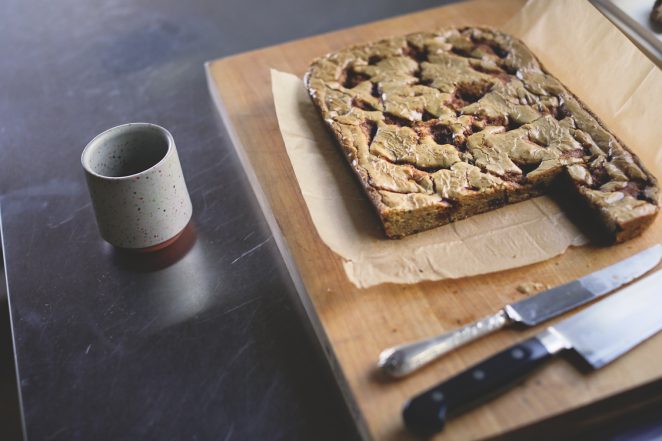
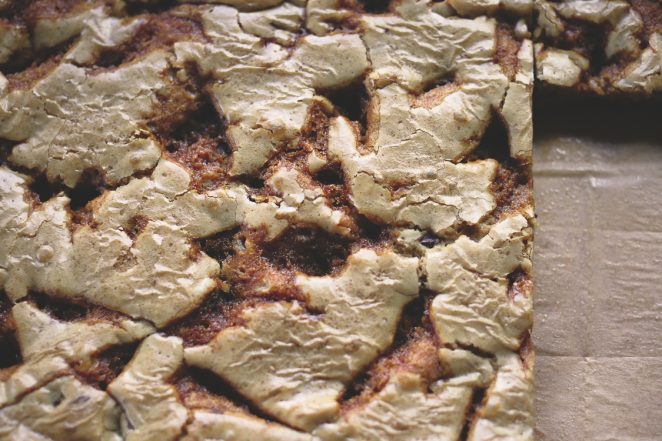
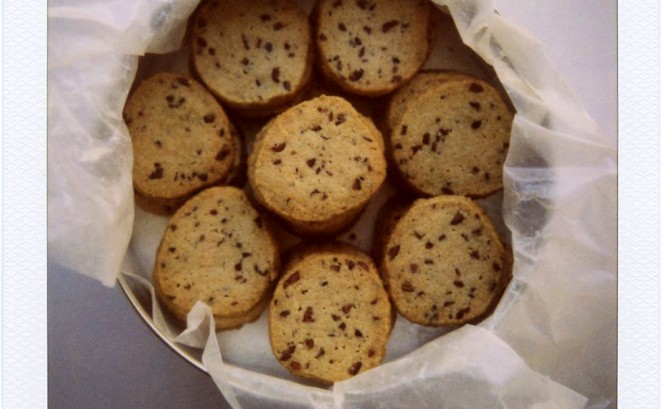
Behold the Violet Butterscotch Blondie, a very special specimen of the genre: a rich brown sugar batter, freckled with chocolate and topped with bits of homemade caramel that you’ve cooled and broken into glass-like shards. I use the word “glass” with intention: I accidentally stabbed a fingertip and drew blood. It was worth it.
If these blondies seem too fiddly for everyday baking, maybe they are. You do have to make a caramel, albeit the most basic and quick of caramels. But a single batch of the caramel makes enough shards for two pans of blondies. I stashed my extra caramel glass in a plastic baggie in the freezer door. And then making a second batch of blondies – which I did not long after I’d made the first – was no more work than a standard chocolate chip cookie recipe. You don’t even have to remember to bring butter to room temperature, because you’re going to melt the butter anyway. The batter comes together without even a mixer, just a couple of bowls and a spoon. In the oven, it sets to a fudgy-brownie kind of texture: soft and dense, substantial enough to cut into tidy pieces, but still with a fine degree of squish. And the caramel melts and sinks, settling into pools of concentrated butterscotch flavor, some of them chewy as candy.
For those of you who follow me on Instagram, or who follow my partner Ash, these are the blondies she posted a photo of. I baked them for her birthday, and I know a number of you asked about them. Thank you for waiting. They are 100% birthday-worthy. They’re 100% repertoire-worthy. I always make handwritten notes in my cookbooks – what I changed, what I added or omitted, what to watch for, that kind of thing – and on this recipe, I wrote only PERFECT.
P.S. Speaking of perfect, this is quietly brilliant.
The Violet Butterscotch Blondie
from The Violet Bakery Cookbook, by Claire Ptak
The original version of the recipe calls for milk chocolate. I used 55%, which is technically semisweet, but it’s what I had. I liked it a lot. And as always, the kosher salt I use is Diamond Crystal brand.
Preheat the oven to 320°F. Grease a 9-x-13-inch (or thereabouts) baking pan, and line it with parchment.
In a small, heavy pan, melt the butter over low heat. Set aside to cool slightly.
In a large bowl, whisk together the eggs, sugar, and vanilla until frothy. Whisk in the melted butter.
In a separate bowl, whisk together the flour, baking powder, and kosher salt. Add the flour mixture to the egg-and-butter mixture, along with the chocolate. Mix until just combined.
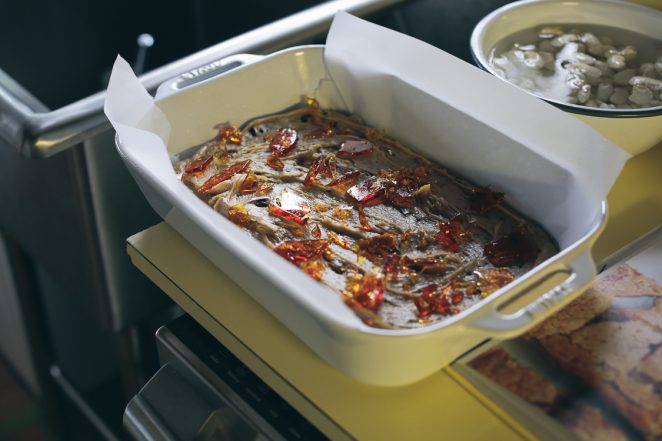
Scrape the mixture into the prepared pan, and smooth the top. Sprinkle the caramel shards over the top of the batter. Bake for 30 minutes, or until the center is puffed and looks set. Mine take a bit longer than 30 minutes – maybe more like 35 – and mostly, I’m looking for setness.
Leave to cool completely in the pan. Then cut into squares or rectangles of whatever size you’d like.
Store the blondies in an airtight container at room temperature. They’re best within three days.
Yield: 12 to 16 blondies, depending on how you cut them
Caramel Shards
from The Violet Bakery Cookbook, by Claire Ptak
I’ve only ever used this caramel in the Violet Butterscotch Blondie, but Ptak says you could add the shards to almost any cake, cookie, or bar – and certainly to brownies. Leftovers can be kept in a plastic container or bag in the freezer for up to three months.
Line a rimmed baking sheet with parchment.
Put the water into a small, light-colored saucepan. (Don’t use a dark-colored pan; you won’t be able to see the color of the caramel as it changes and darkens.) Add the sugar, and place over medium-low heat until the sugar starts to dissolve. Resist the temptation to stir the pan, because agitation will cause the sugar to crystallize around the edges. Once the sugar starts to dissolve, raise the heat to medium-high – watch the pan closely and constantly! – and continue to cook until the caramel is a dark golden brown, a deep shade of walnut.
Pour the caramel immediately onto the parchment paper in a thin, even layer. If necessary, lift and tilt the pan to coax the caramel to spread evenly. Allow to cool completely.
Lift the parchment from the sheet pan, and place on a cutting board. Use a sharp knife to cut the cooled caramel into smallish shards, ideally no bigger than a quarter. Be careful, because the caramel is hard and the shards are sharp.
Use right away, or store leftovers in the freezer. Do not store in the fridge, or the caramel will soften and get tacky.
Yield: enough for two batches of blondies
Cooking with a young child
Today, on the ole blog: some thoughts about cooking with a kid! After the jump! Because I totally get that not everyone wants to read about kid stuff! See you next time!
Read moreThe right buttons
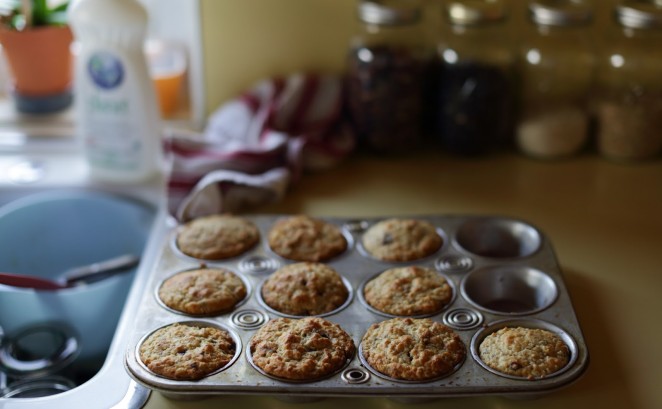
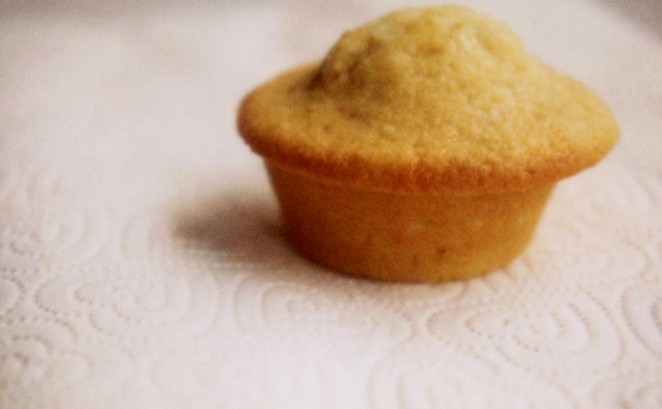
Before we get started: thank you for your comments on my previous post, and for sharing so many good tips and ideas about feeding families. May I say that you all seem like great parents? You seem so sane. (Sanity! Sometimes I think it’s the highest goal.) I’m going to get unbecomingly sappy for a minute and say, yet again, how happy I am to have this space, this community of sorts. I know I’ve said it before, but I think about it even more often than I say it. I also think about leftover oatmeal muffins. I think about leftover oatmeal muffins even more often than I think about oatmeal, which is inconvenient, because you obviously have to have oatmeal…
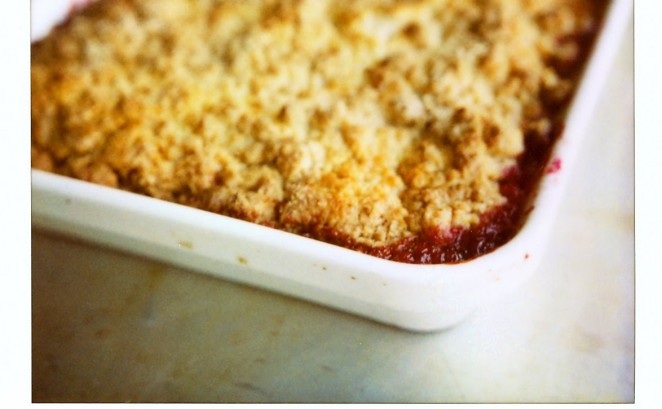
Read moreThe best part of the job

I am supposed to be writing a manuscript, not baking rye crumble bars. No more rye crumble bars no more rye crumble bars no more rye crumble bars no more rye crumble bars no more rye crumble bars. When I found out that I was pregnant, I asked my publisher to extend my deadline, which was supposed to be March 1. I wasn’t sure how ill I would feel, but I’d heard plenty of pregnant lady horror stories, and I thought it was best to plan for the worst. Happily, I wasn’t very ill, but I was very unproductive. I was very, very tired. One morning, when the alarm was going off and I showed no signs of movement, Brandon…
Read moreYou can count on me
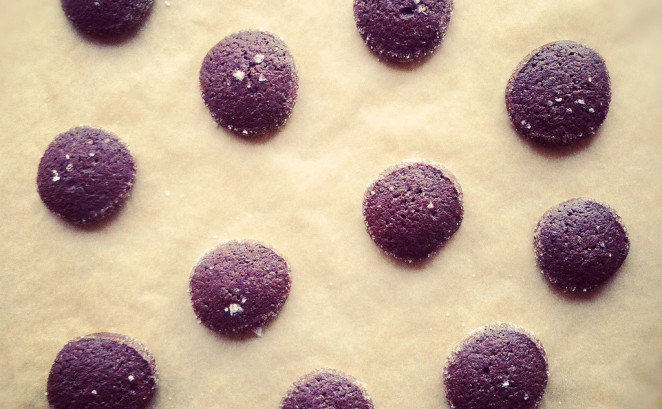
I am writing to you today with a wool scarf wound around my entire upper body and a wool blanket tied at my waist. I have a cold, and Brandon has a cold, and before that, he had food poisoning. We are a house under siege. That, however, has not prevented me from getting that salted chocolate cookie recipe that you wanted. Nor has it stopped me from eating said salted chocolate cookies. You can count on me. I’m going to cut right to the chase, because I don’t want to get to get between you and your cookies, and also because I have an appointment with a down comforter. Here’s what you need to know. My friend Renee, she…
Read moreThis one’s coming with me
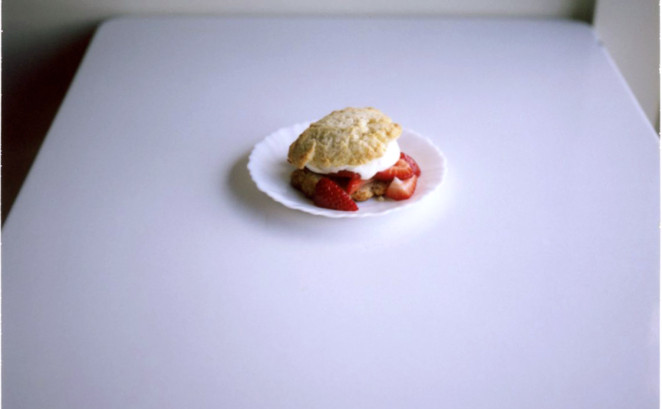
On a Sunday night in June, you are required, by cosmic law, to make strawberry shortcake. I don’t know if you knew that. I just found out. There’s apparently a similar law for July, only it governs tomato-and-mayonnaise sandwiches. You’ve been warned. Last week, we had two friends visiting from Scotland. Whenever we have visitors, I tend to want to take them to lots of restaurants, because that seems like the best way to show them our city, but when jet lag is involved, it feels mean to force anyone to sit upright or speak in complete sentences after approximately mid-afternoon. So on Sunday night, after a morning visit to the farmer’s market and a long walk down to Golden…
Read moreThis one does something interesting
In the days since we last spoke, I’ve flown to Oklahoma and back. I’ve introduced my mother to 24. I’ve made Cafe Lago meatballs with my mother, braised a pan of endive and serrano ham with my mother, and put away a couple of Negronis, also with my mother. I’ve baked a coffee cake using a tin of baking powder from my mother’s cabinet that, you know, it turns out, expired in 2006. I’ve thrown away a coffee cake. I’ve filed and paid our 2010 income taxes! I’ve had a toothache! I’ve sent off my book proposal! I’m using a lot of exclamation points! And because of this second-to-last item, because you’ve been such cheerful, cheering, much-needed companions in Book…
Read moreYes, already
Well. The good news is that I’m making headway in my book proposal. I was working on it at a cafe on Saturday afternoon, and I could actually see it taking shape, right there in front of me. I love that feeling. I was absolutely elated. I lost all sense of time. I was in it up to my eyebrows. And I must have looked it, too, because as I was packing up to leave, the girl sitting next to me commented politely that I must have gotten some very good work done, because I was staring at my computer so intensely. And I decided that from now on, I should work only in the privacy of my home, so…
Read moreAnd try to be cheerful
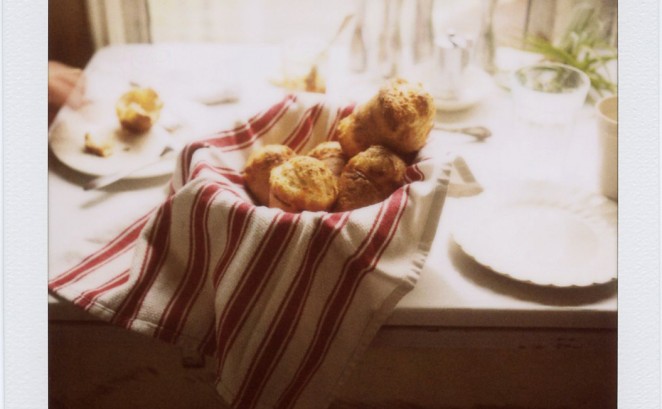
Okay. This year, I’ve decided, is going to be the year of The Breakfast Book. I’m allergic to resolutions, so let’s not use that word. Let’s just say that if I do nothing else in 2011, I would like to spend more time with one of the worthiest books on my shelf, one that has never done me wrong, one authored by she of the famous yeasted waffle, the esteemed Ms. Marion Cunningham. There is no one I trust more on the matter of breakfast. There is also no one else that I know of who has managed to wedge a treatise on manners into a chapter on quick breads. Witness a selection from “Breakfast Table Civility and Deportment” (page…
Read moreWade way in
November was nice, but what happened to it? Hi. Our visit to the East Coast was good and long and involved a lot of sleeping and pizza research, the common themes of our days off since Delancey came along. I wrote a story about stuffing for this fine newspaper – you know that it’s not just for Thanksgiving, right? You can eat stuffing whenever you want – and now I’m working on a story for this fine magazine. But lately, my head is very full of Possible Future Book. I want you to know that I thought long and hard before I typed that last sentence. Because now it means that I can’t chicken out. The idea of writing another…
Read moreI am sold
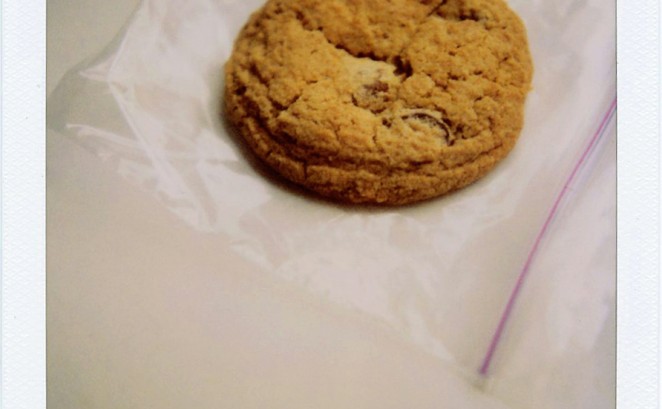
I know this cookie looks wholesome. Actually, I’ll raise you one and say that it verges on homely. But this cookie speaks to me, and what it says is, Hey, baaaabe-eh. In this voice. Meet Kim Boyce’s whole wheat chocolate chip cookie. This might be my favorite chocolate chip cookie, which is an absolutely insane thing to say, because until about a week ago, I thought that title belonged, forever and ever, to the New York Times chocolate chip cookie. I don’t know what I think anymore. Let’s just call this my new favorite chocolate chip cookie and leave it at that.I first heard about this recipe from Luisa, and then Lecia mentioned it to me, too, and maybe Brian,…
Read moreBecause there was a bag of plums
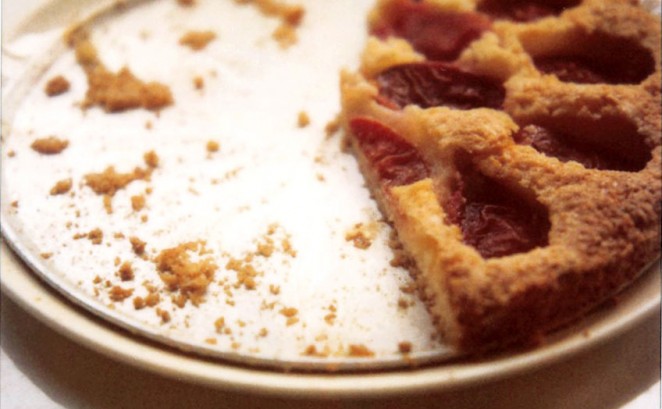
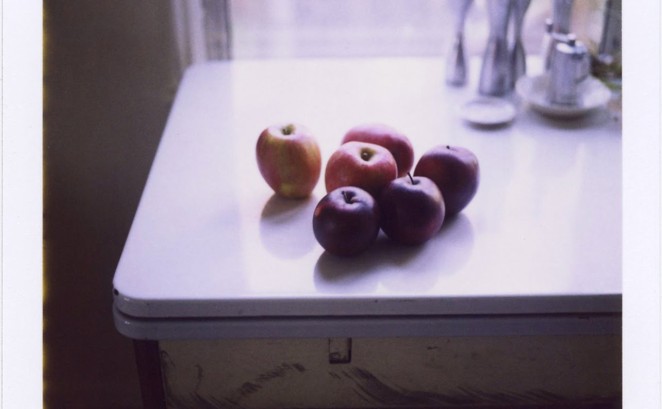
I took this picture on an excellent afternoon. It was a Saturday. I had just met a deadline that I had been dreading. I was immensely relieved. Two of our best friends were in town for a visit, two friends who moved here a couple of years ago and became sort of like family, but then they found jobs and gigs in other cities, so they moved away. But they were in town on this particular day, and we had stayed up late the night before, and the night before that, and now it was late afternoon. Bonnie had a concert, and Ben was driving her to rehearsal, and Brandon was at the restaurant, and I was home alone. Because…
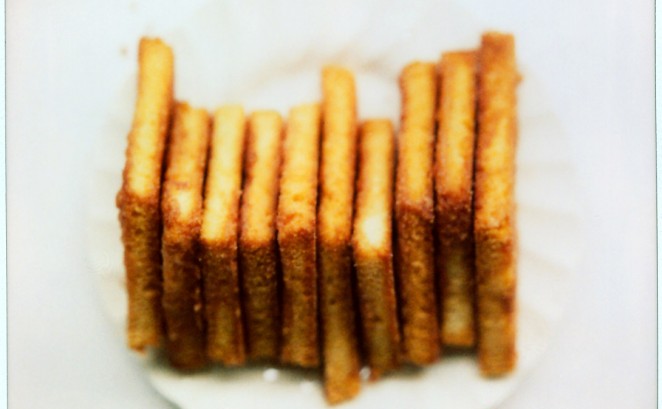
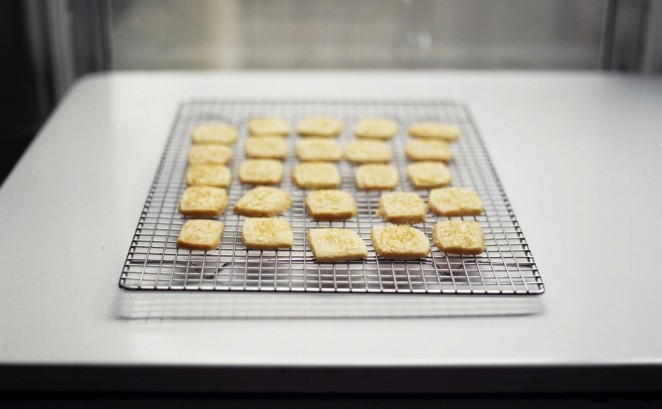
Read moreIt is called toast
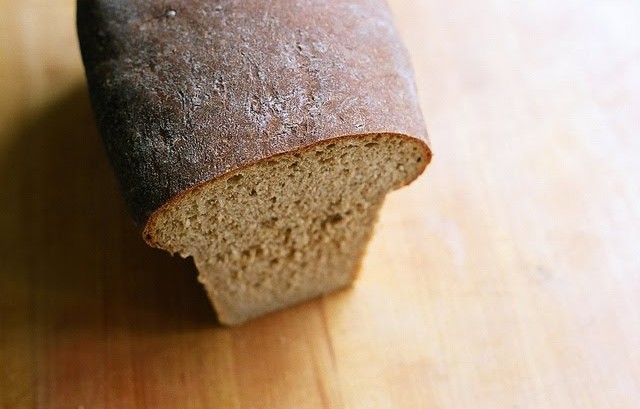
Thank you for the many cheers and kind words about our anniversaries. You are so good to us! We went to Bellingham to celebrate over the weekend – which, in our world, means Monday and Tuesday, the days when Delancey is closed – and I regret to report that the dinosaur graffiti has been painted over. There’s a cafe there, and they put in some outdoor seating, so I guess they wanted to spruce the place up. The only good news is that the graffiti was painted over badly, with white paint, so if you squint, you can still make out the curving neck of the brontosaurus. Shine on, dinosaurs! I should also report that I have made a discovery,…
Read moreHer recipe box
Well. That was not at all what I planned for the month of April. So long, April. So long, plans. I want to get this show back on the road. I’ve missed being here, and I’ve missed you. But before we go any further, I want to offer a long overdue thank you to those who came to my readings last month. I thought I had a great time on my first tour, but somehow, I had an even better time this year, despite the fact that I was dealing with a whopping case of laryngitis and could hardly speak. I hope you could hear me, and that you enjoyed it. It made me so happy to meet you. I’ll…
Read moreNot a likely love
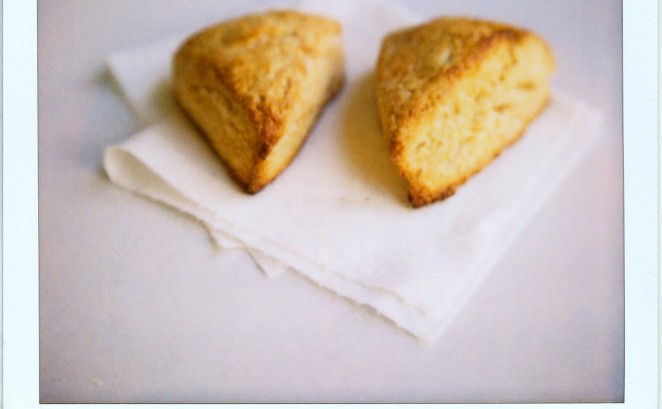
Well, would you look at that! Yesterday was Saint Patrick’s Day, and how fitting, I’m writing about scones! Which are Irish, of course – and, well, also Scottish, and English, and generally British, but anyway, they’re Thatapproximatepartoftheworldish, at least. I should quit while I’m ahead. When I was growing up, my elementary school was near a health food store called the Earth. It was not a large place, nor was it fancy. It was not Whole Foods. It was small and low-ceilinged, lit with fluorescent tubes and lined with vitamins in brown bottles and beeswax chapstick and sesame bars in plastic wrappers, and it smelled like lentil soup. There was a cafe at one end where they served sandwiches and…
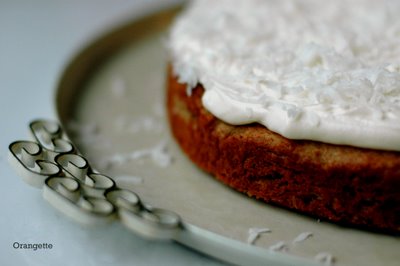
Read moreWe ate this cake
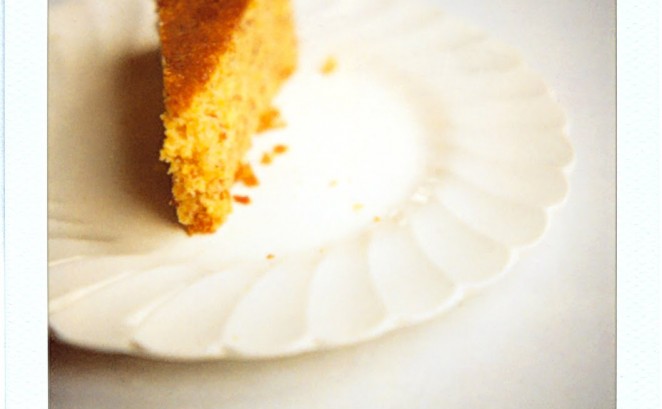
About a million years ago, by which I mean last Thanksgiving, I mentioned on Twitter that my cousins had made an olive oil cake for our mothers’ birthday dinner. Our mothers are identical twins, born in the third week of November, which means that our family’s Thanksgiving comes with an extra bonus meal: The Twins’ Birthday. Anyway, I mentioned this cake, and someone – maybe one of you reading today? – asked if I might share the recipe. I said that I would do my best to get it from my cousin Katie, its keeper, which I did, and after bringing it home and accidentally burying it in a stack of papers on my desk for three months, which I’m…
Read moreWhat I do now
So, I wasn’t kidding about the black hole. But I’m sorry to have been gone from here for so long. I’ve missed you. Delancey is getting easier. As of two weeks ago, we now have a prep cook to work in the mornings, which means that instead of going in at 9 am to receive the first deliveries, Brandon can now go in around 11 am, and I go in sometime between noon and 2 pm, depending on the day’s prep list. We still get home around midnight, but it feels a lot easier than it did a couple of weeks ago. We’re getting more sleep, for one thing, but even more importantly, we know what to expect now. That’s…
Read moreI mean it
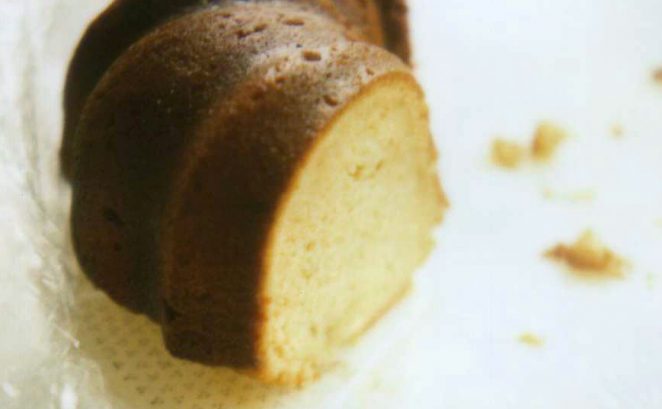
I would like to sit down here today and write as though everything were normal, as though I were actually capable of forming complete sentences. But the truth is, I am an absolute maniac. Tomorrow is the official release date for my book, a day that I never really trusted would come, and I feel alternately so ecstatic and so freaked out that I can’t decide whether I need to run around the block a few dozen times or lie down for a nap. In the meantime, I will eat some sweet potato pound cake. As you can see, that’s been my fallback position for a few days now. Many of you have written already(!) to say that you have…
Read moreFor that very reason
I don’t know where to begin. You people spoil me. Do you know that? Brandon and I cannot even dream of how to adequately thank you for the immensely kind and utterly galvanizing comments you left in response to The Big Restaurant Announcement. Some of you even sent e-mails, offering advice, encouragement, and hands-on(!) help(!). I’m still trying to pick my jaw up off the floor. Thank you. Or rather, I mean, THANK YOU. If I could hire a plane to write it in the sky, I would, because that would best capture the magnitude of the sentiment. But we have a budget to stay within, you understand. So, onward we go, right? I will keep you posted, I promise,…
Read moreBig, bad, banana
I was not an easy child. I was afraid of thunderstorms, and of the vacuum cleaner. My head was so big that I would wind up in tears when my mother tried to wedge it through a turtleneck. I was terrified of needles, so much so that nurses had to sit on me to give me my booster shots. Even sweet, wrinkly E.T. scared the crap out of me, with his weird misshapen head and creepy glowing finger. And on top of all that, I hated bananas. Kids are supposed to love bananas — when all else fails, that, at least, is supposed to be easy. My poor, patient mother did her best. To ease her mind, she once consulted…
Read more