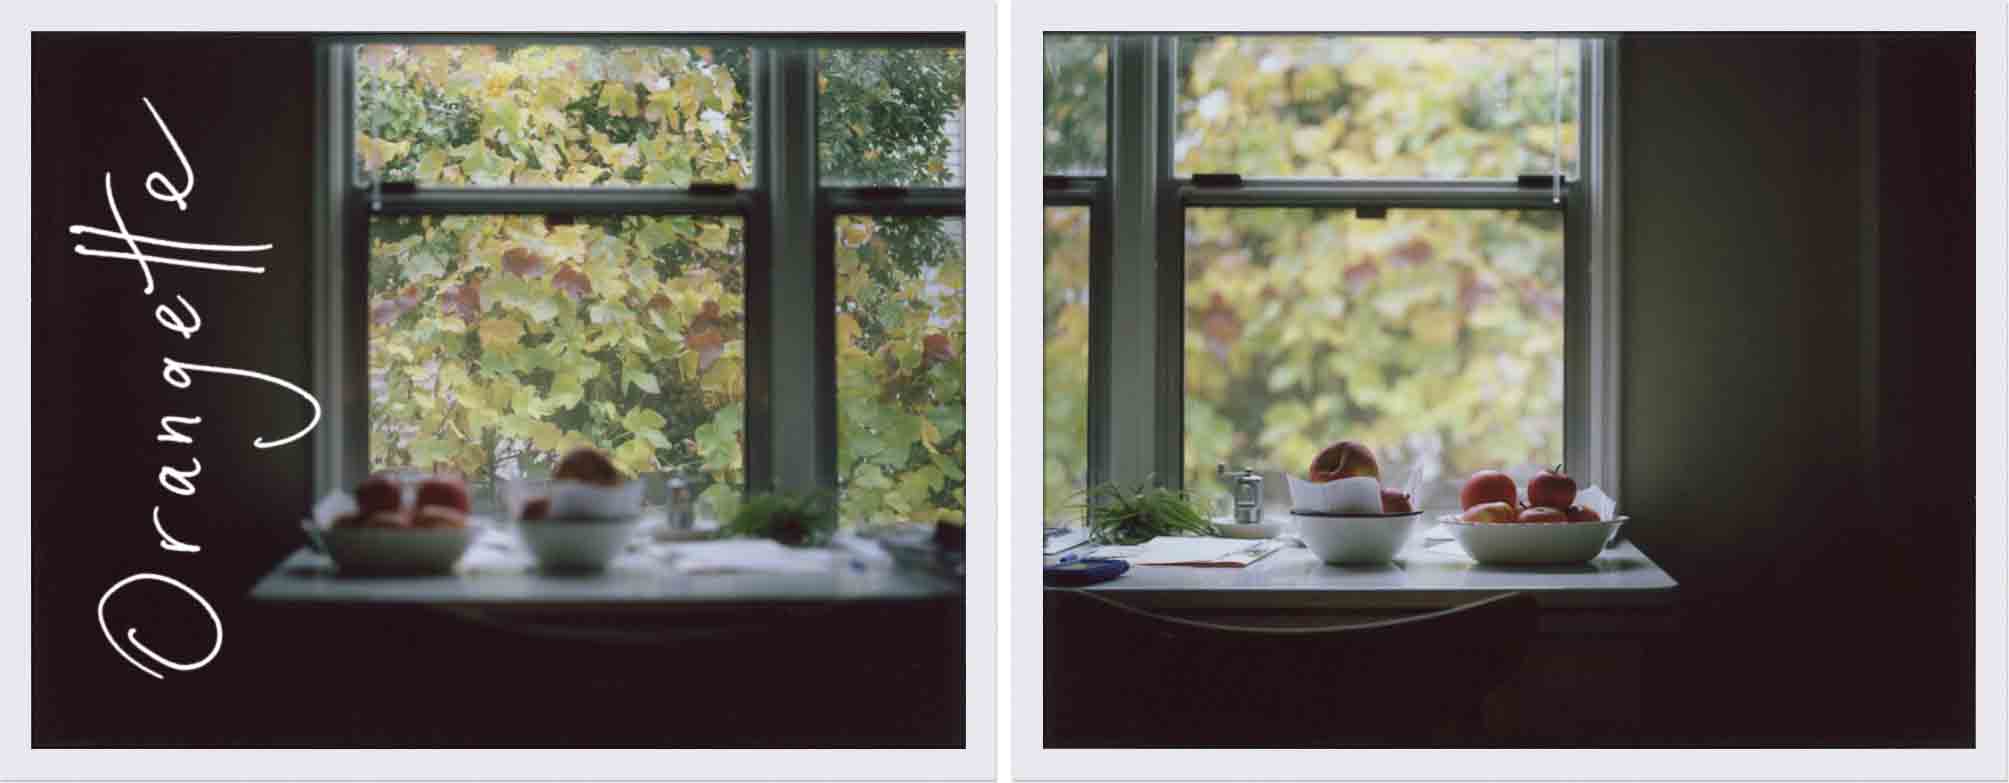
Special occasions, special measures
Never mind that I was awake into the wee hours last night, having coughing fits and nearly choking to death on a Ricola lozenge: as of this post, I am hereby trading my fever for holiday fever. It is the second week of November, with Halloween now tucked away for another year, and nothing can stop me from taking a great, whooping, breathless dive into all things holiday – not even the fact that the only thing really whooping around here right now is my cough. But pay no attention to that. I love the holiday season, and I sincerely hope that you do too, because for the next several weeks, that’s what I plan to talk about around here. You curmudgeons and Grinchly types will just have to roll your eyes and content yourselves with a lump of coal.
Now, understand: I do not plan to tell you how to roast a perfect turkey or make a pan gravy that will impress your mother-in-law. There are plenty of other places to do that, and anyway, if you’re anything like me and mine, you have your own favorite heirloom methods and formulas. Instead, I want to talk about the other – and, I think, more inspired – items that orbit the holiday table: the pre-meal nibbles, the sprightly side dishes, the sweet little things you pack in shiny tins and deliver to a friend’s front stoop. There will be cookies, of course, and a chutney or two, and maybe even an ice cream: things to give away, and things to eat by the spoonful. But first, as is the case on so many occasions, there will be crackers and cheese. Or, more specifically, the most delicious single combination of butter, cheddar, and flour to cross your lips.

Before I say another word, I should issue a little disclaimer: I am not, people, one of those types who make their own crackers on a regular basis. If I’ve got friends coming over, I open a box of the store-bought kind, not the oven door. But special occasions call for special measures, and this holiday season, I am happy to announce a strange, Martha-esque milestone in my kitchen career: I made my own crackers. And by god, I would – and will – do it again in a heartbeat. These things are delicious, and astoundingly easy too. They’re really just a slice-and-bake job.
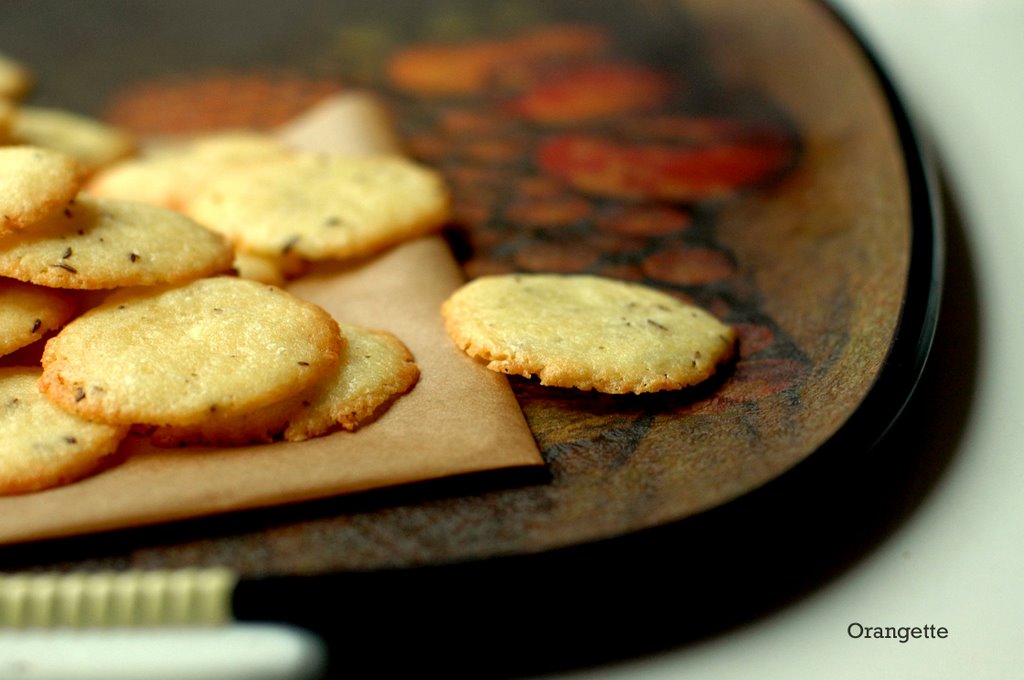
Lacy, crisp, and flaky with butter, these beauties are my kind of prelude to a holiday meal. They melt on the tongue like a communion wafer – the transubstantiation of cheddar, perhaps – delivering a concentrated dose of flavor that belies their diminutive size. Each is no bigger than a silver dollar – in diameter and in depth – which makes them just the thing for nibbling before a big, festive dinner, when family and friends hover around the kitchen like well-trained vultures, waiting for a scrap. I can also imagine bringing them, along with a bottle of champagne or red wine, to a wintry weeknight dinner with friends, or putting a tray of them on the table at a holiday open house. These sophisticated little meltaways need no accompaniment, and anyway, they might crumble under the weight of one. They’re best on their own, savored in delicate, crumbly bites – although if push came to shove, I imagine they could be quite irresistible, too, with a thin, feathery slice of apple on top. Either way, this is a recipe to lodge firmly in your repertoire from this holiday forth, or, frankly, anytime.
Cheddar Crisps
Adapted from Gourmet, November 2006
The original version of this recipe yields three types of seasoned cheddar crackers: one flecked with black pepper, one with caraway seeds, and one with nigella seeds. But seeing as I couldn’t find nigella seeds in my usual grocery store loop, I took the lazy way out and left a third of my crackers plain instead. If you’ve got nigella seeds lying around, have at it – but if not, don’t worry: these crisps are plenty good plain, sans seeds or pepper or other seasonings. Be sure, however, to use a tasty cheddar, one that you would happily eat on its own. I chose Black Diamond. Not only is it easy to find pretty much anywhere, but it is also my standard, never-fail cheddar for pretty much any use. Oh, and for the record, the black pepper variety is delicious with champagne; we gave it a good, thorough test tonight, just for your benefit. And I imagine that the caraway version would be wonderful with nearly any beer, though I might reach first for a Belgian ale.
1 stick (4 ounces) unsalted butter, at room temperature
¾ lb sharp cheddar cheese, coarsely grated (on the large holes of a box grater or in a food processor fitted with the shredding attachment)
1 large egg yolk
1 cup unbleached all-purpose flour
1 tsp dried mustard
¾ tsp salt
1 tsp black pepper, coarsely cracked in a mortar and pestle
1 tsp caraway seeds
Combine the butter, cheese, and yolk in the bowl of a food processor, and blend until smooth. The mixture may seem very thick and lumpy and cement-like at first, but persevere, stopping the machine and scraping down the sides as needed; it will eventually come together into a smooth, thick paste. When it does, add the flour, dried mustard, and salt, and pulse until just combined. Transfer the dough to a sheet of wax paper, and divide it into three portions. [Do not clean the food processor yet.]
Return one portion to the food processor, add the pepper, and pulse until combined well. Transfer the dough to another sheet of parchment paper. Using the paper as an aid, shape the dough into a log roughly 7 inches in length and 1 ½ inches thick. Roll up the log in the paper, and twist the ends to seal it closed. Clean the processor and dry it well. Make another log on a separate sheet of wax paper in the same manner, using caraway seeds instead of pepper. Place the final, unseasoned portion of dough on another sheet of wax paper, and make it into a log as well. Chill the logs until firm, about 2 hours.
When you’re ready to bake the crisps, put an oven rack in the middle position and preheat the oven to 350 degrees Fahrenheit. Line a large baking sheet with parchment paper.
 Unwrap one log and, using a paring knife, cut enough thin slices – about 1/8 inch thick – from it to cover the baking sheet, arranging the slices about 1 inch apart. Bake the crisps until their edges are golden, about 10-12 minutes. Transfer them on the parchment to a rack, and cool them slightly, about 15 minutes. Repeat with the remaining dough.
Serve crackers warm or at room temperature.
Note: The dough can be chilled, wrapped in foil or a plastic bag, for a week or frozen for up to two months. The crackers can be baked a few days ahead and cooled completely, then stored in an airtight container at room temperature. If you like, you can reheat them on a baking sheet in a 350-degree oven for about 5 minutes.
Yield: about 100 crackers