Tag: matthew amster-burton
June 30
A couple of weeks ago, while researching rhubarb crumble recipes for the Crisps and Crumbles episode of Spilled Milk (still going strong, 52 weeks a year! and still featuring impromptu hair-metal duets!), I pulled down an old copy of Canal House Cooking, and it fell open to page 57, “Cutlets Smothered in Peas.” That’s when it dawned on me that I had somehow made it to age almost-39 without ever cooking a chicken cutlet, and that my child had somehow made it to age almost-five without ever eating a chicken cutlet. I understand this makes one subject to ridicule and rebuke not only in America, but also in many other parts of the world, including Japan, where panko-breaded, pan-fried chicken or pork cutlets (katsu) are, I hear – and hope to see for myself one day – a national staple.
You probably already know how to cook chicken cutlets? I didn’t, and the Canal House recipe didn’t go into much detail, so I texted Matthew, who knows how to cook almost everything. The recipe below is quick and loose, a combination of Matthew’s instructions, some online recipe-reading, and Canal House’s smothered pea idea, banged out on my electric stove on a warm June night as an early dinner for two. (If you’re looking to do traditional katsu, which calls for pounding the meat to an even thinness and frying with greater exactness, Kenji Lopez-Alt has an excellent method.)
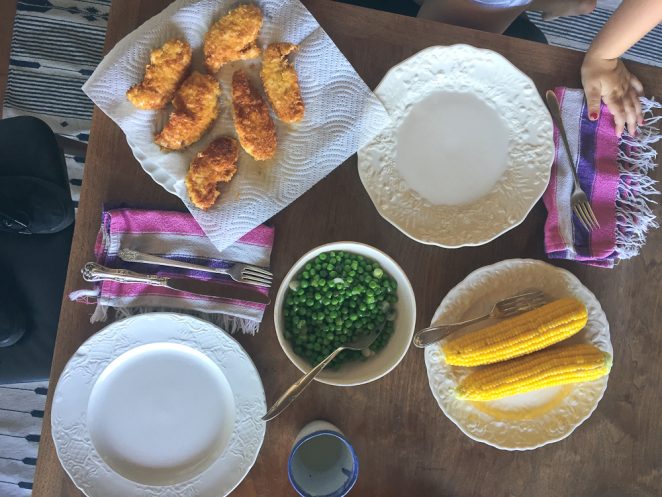
I recommend serving cutlets and peas with corn on the cob, cooked quickly in a skillet of simmering, well-salted water. In my experience, almost-five-year-olds are great at buttering corn on the cob. They can also participate in the chicken-dredging process, provided that your almost-five-year-old is a good hand-washer (and/or you are an exacting hand-washing supervisor). Almost-five-year-olds can also set the table. They may choose to do all of the above wearing only underwear and chipped nail polish. Upon taking a first bite, they may even exclaim, “I love this recipe!” Almost-five-year-olds are the greatest, except when they are not.
(A normal old recipe post! That was fun.)
Also:
- The aforementioned Matthew and I are teaching a two-day travel writing workshop at the Pantry on July 15th and 16th. Please join us. The description reads thus: The best travel writing brings you all of the discovery, disasters, and deliciousness of travel with none of the flight delays. But how do you write about a place without sounding like a Chamber of Commerce brochure? In this two-day workshop, bestselling authors Molly Wizenberg and Matthew Amster-Burton will show you how to find the story in a destination, zoom in on meaningful details, and understand right and wrong ways to put yourself into the story. To get you there, we’ll explore selections from writers like Fuchsia Dunlop, Ann Patchett, Rachel Khong, Bill Bryson, and more. Sign up via The Pantry.
- I’m reading Sherman Alexie’s new memoir, and it’s difficult and funny and immensely good. I loved his recent interview with Terry Gross on NPR’s Fresh Air.
- I wish Rookie had existed when I was a teenager. Of course, that doesn’t stop me from reading it now, and I’ve listened to every episode of the Rookie podcast. Tavi’s recent interview with writer and transgender activist Janet Mock was especially inspired. And don’t miss Roxane Gay on bodies, writing, and more.
Hi. We’re well, and I hope you are too.
Chicken Cutlets Smothered in Peas
Inspired by Canal House Cooking, Vol. 6: The Grocery Store
June didn’t like the scallion flavor in the peas, so next time, I’ll be leaving the scallions out. I like it either way.
Set out three shallow bowls. Put a large, heaping spoonful of flour in the first, the egg in the second, and a large, heaping spoonful of panko in the third. I didn’t measure the flour or panko, and I think you can safely eyeball it. Beat the egg well with a fork.
Season the cutlets with kosher salt.
Working with one cutlet at a time, dredge in flour with one hand, shaking off excess. Transfer to the egg dish, turning the cutlet with your other hand to coat both sides. Lift, allowing excess egg to drain off. Transfer to the panko bowl. With your first hand, scoop panko on top of the cutlet and gently press to adhere, taking care that the whole thing is coated. Transfer to a clean plate. Repeat with remaining cutlets. If this is done properly, your first hand should touch only dry ingredients, while your second hand should touch only wet, and ideally it’s not too messy. If it is, oh well.
Pour oil into a 10-inch skillet to a depth of ¼ to 1/3 inch. Place over medium-high heat. When the oil shimmers and runs loosely around the pan when you tilt it (around 350°F), gently lower the cutlets into the pan, laying them down away from you to prevent splashes of hot fat. Don’t crowd the pan; cook in batches if necessary. Cook cutlets until the bottom side is set, and then flip and fry until the second side is set. Continue cooking, flipping occasionally for even browning, until the cutlets are golden brown – fried-chicken color – and cooked through, about 4 to 5 minutes per side. I use a Thermapen to test for doneness, pulling cutlets from the pan around 155°F. They will rise to 165°F (the USDA safe temperature) as they rest. Transfer to a plate lined with a paper towel.
Meanwhile, melt the butter in a saucepan over medium heat. Add the peas and scallions and a generous dash of salt, stir to coat, cover, and cook until tender. I didn’t time this. Maybe 10 minutes?
Serve everything hot, the buttery peas spooned over the cutlets.
Yield: 2 to 3 servings
April 30

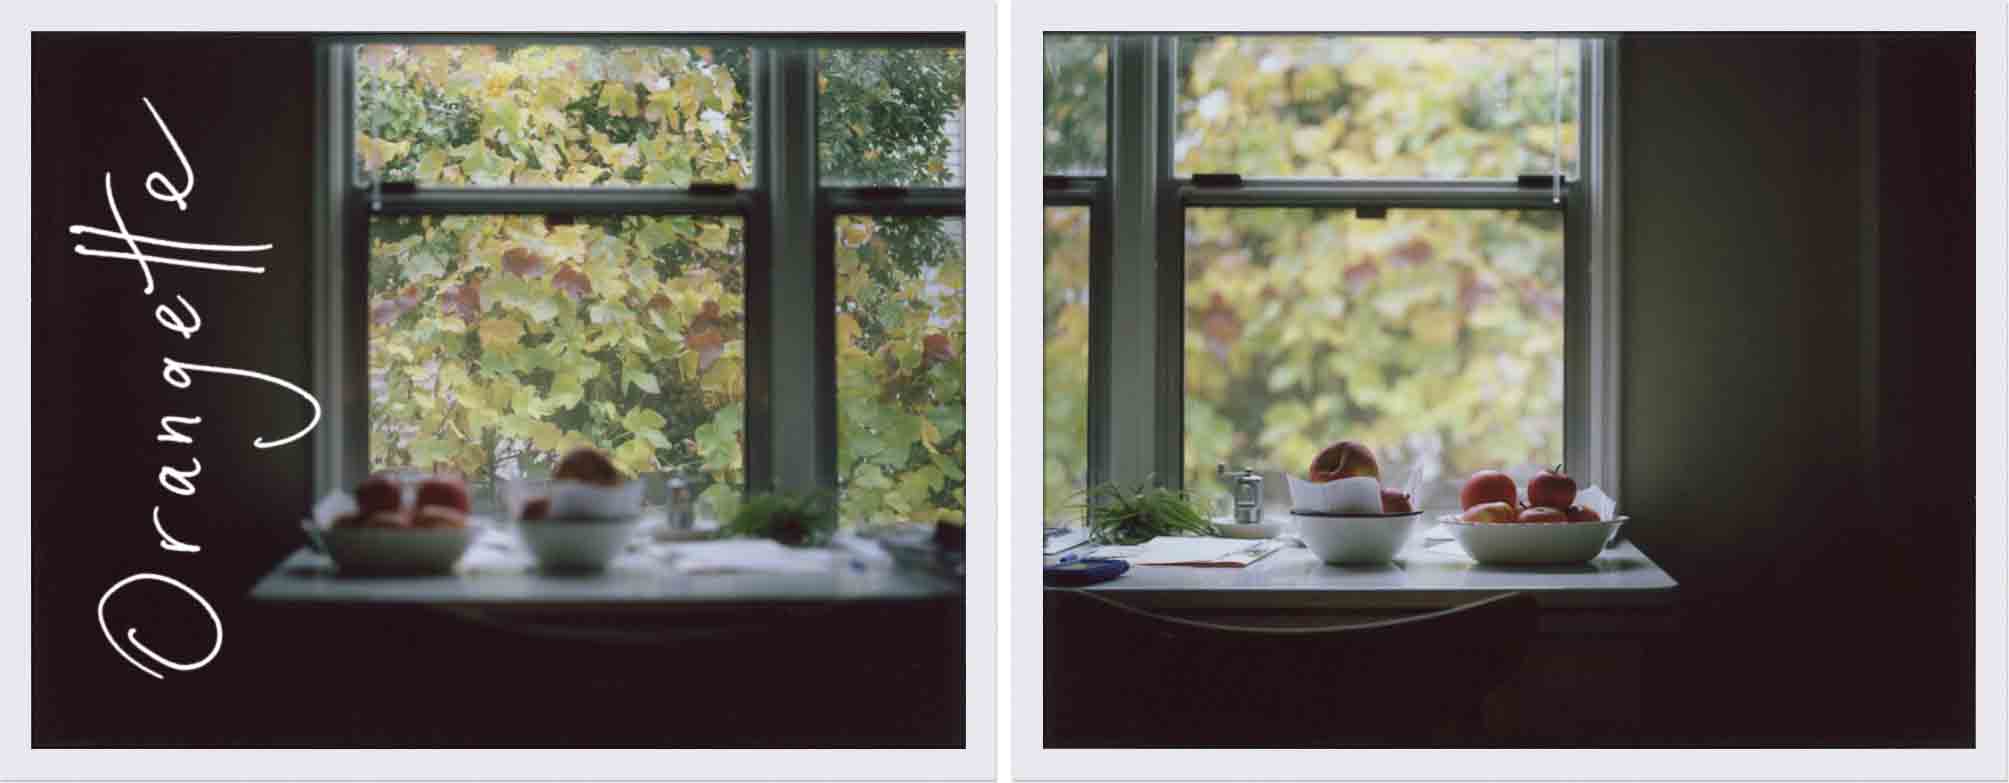
I got Junie into bed on time tonight, the first night in a week, and to celebrate, I’m sitting at the table, listening to the birds outside, thrilling at the fact that it’s 8:24 pm and I haven’t yet flipped on a single light switch. And because it feels like time is on my side (yes it is, la la la, though probably just for tonight), I wanted to pop in the door and say a small something. Hello. I don’t feel very interested in writing about food. It has felt jarring and incongruous to write about food and cooking these past months, like I’d be doing that old Wizard of Oz number, pulling levers and pushing buttons, yelling Pay no attention to that…
Read moreWe’ll go from left to right
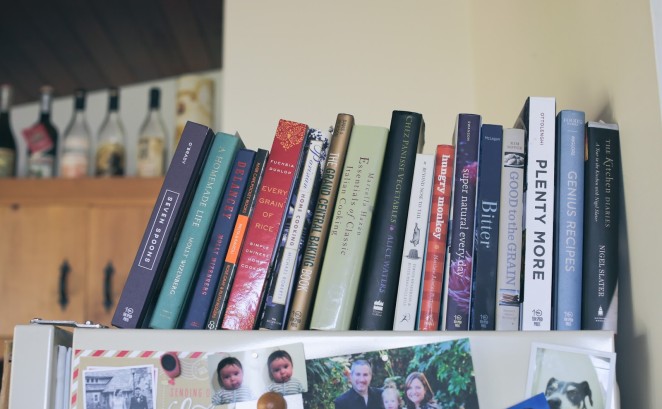
I promised cookbooks, and I shall deliver cookbooks. No more nostalgia! No more old photographs! No more zoning out with Danzig videos on YouTube because a man in a Danzig t-shirt just walked into the coffee shop where I am writing and reminded me of the song “Mother ’93“! I will be useful. Four years ago, when we moved into the house where we now live, I started keeping a small collection of cookbooks on top of the refrigerator. Most of our books live in June’s room, on the wall of shelves there, but that’s down the hall from the kitchen, and I wanted to have my most-used, best-loved, most-consulted books within reach. I rotate them as new books come…
Read moreI promised
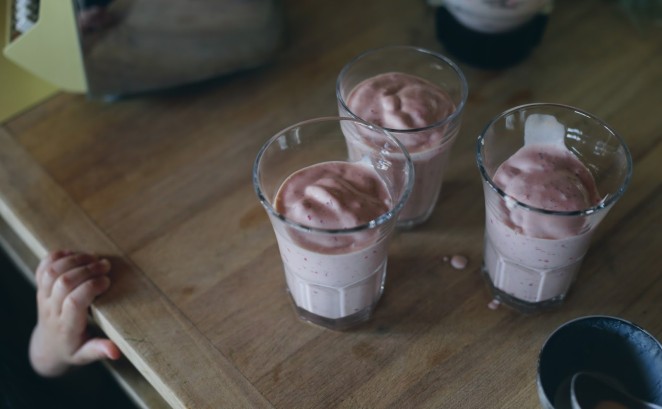
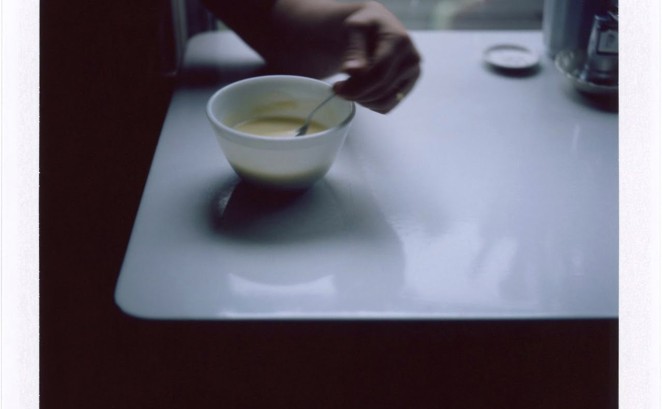
It hit 85 degrees in Seattle today, and here in our city of no air conditioning, that counts as a heat wave. I know: talking about the weather is boring, blah blah blah, but on a cloudless day in mid-July, the best one can hope for, I think, is to have nothing but the weather to talk about. I come this evening, however, to talk about sour cherry milkshakes. I promised. Most of us know sour cherries in their cooked form, as the kind of cherry that you bake into a pie. I didn’t know them at all until five summers ago, the summer of 2009, when we were about to open Delancey and I had no idea how to…
Read moreIn it together

First things first: if you don’t want to read about kid stuff, you should skip this post. I won’t mind. A few years ago, I totally would have skipped it. You have my permission, and my sympathy. But if you, on the other hand, spent part of yesterday as I did, sitting on the floor with a sparkly child-size tulle skirt on your head, singing “Your Personal Penguin” to a small person while she sucked on a hank of her own hair, you might be at least somewhat interested in this post. A few of you have written to ask if I would share my perspective on and approach to feeding kids. I’ve hemmed and hawed, mostly because the topic…
Read moreLet’s wing it
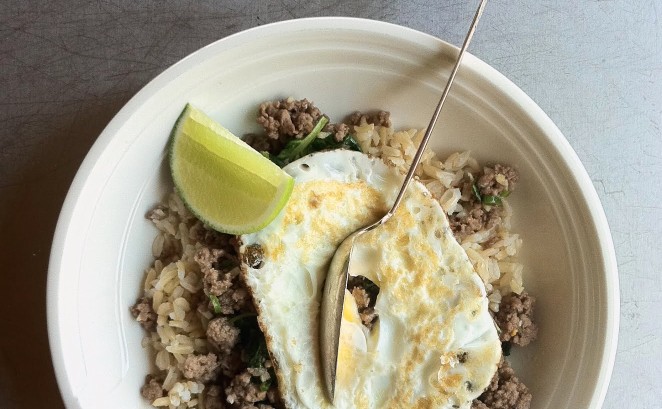
Before I say anything else, I want to thank you for your kindness about my aunt. I was very nervous when I put up that post, but I felt much better for having written it, and I hoped that meant something. Thank you for reading, and for saying what you did, and mostly, for understanding. There is no smooth transition to be made from talking about death to discussing Thai food. Let’s wing it. I don’t know why that fried egg looks like it has no yolk. It definitely had one, because before I took this picture, I punctured it with that spoon. I think this is my punishment for not taking a proper photograph: my iPhone ate the yolk. Anyway,…
Read moreNot a tomato sandwich
So, I turned 33 a couple of days ago. And Brandon, who was but a pup of 23 when I met him, turned 30 a few days before that. Thirty! The staff at Delancey wrote BRANDON TURNS OLD TODAY on the chalkboard and spelled out OLD BOSS in alphabet magnets on the ice machine. He told me that he hasn’t thought much about being in his thirties, but I think he secretly likes the idea. I’m on the fence sometimes, but mostly, I do too. In any case, thank you for your patience. In my absence from this space, there was a return flight from Ohio, writing, more writing, payroll, a birthday cake, a big project for a friend, and…
Read moreYour efforts will be rewarded
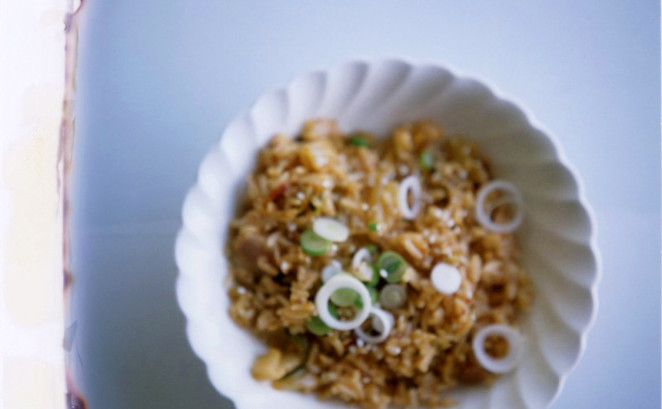
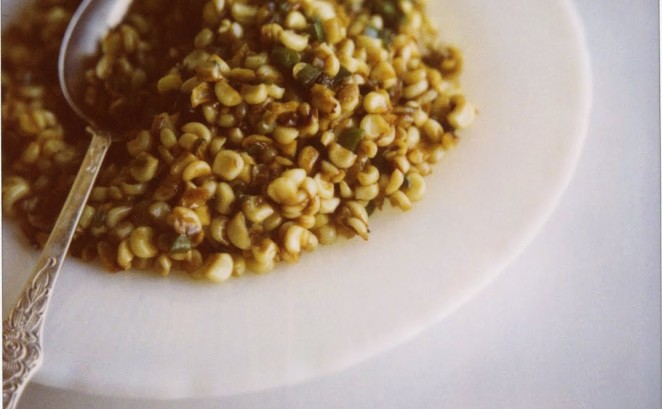
Listen, I know it’s a holiday weekend. Most of you are probably outside, grilling or picnicking or generally engaged in some form of early-summer eating. In fact, as I type this, I can hear my neighbors on their deck, shaking a bag of charcoal briquettes, talking about Neil Diamond. But what I would like to tell them (aside from, HAVE MERCY! NO NEIL DIAMOND TONIGHT!), and you, too, is this: do your future self a favor and go inside and cook a pot of rice. Also, do whatever you have to do to get some Napa cabbage kimchi. Come midweek, your efforts will be rewarded. I can’t believe it’s taken me this long to get around to writing about kimchi…
Read moreEasy enough
We moved last Tuesday. I’m going to repeat that, because it sounds so unlikely, so inadvisable, that I know you might not believe me. I hardly believe me. But we did. We moved. Brandon is starting a second business, and I’m trying to start a second book, so, you know, la la la, let’s move. We’ve had worse ideas, but I can’t think of them right now. This is the last picture taken in our old kitchen. Our old kitchen, our old place, our old duplex, where we lived for almost five years, on a noisy street with the nocturnal neighbor who does outdoor home improvement projects by flashlight. I will miss that place, but only a little, and never…
Read more