You know me well
My manuscript is due on June 1. Hello from the Cave – or, as I first typed, “Hell from the Cave,” which has a nice slasher-movie ring to it. Hi.
For those keeping track, no, you are not crazy: the book was supposed to be due in March. I had to ask for an extension, unfortunately, because of the small human under my shirt who makes me very tired, and because there’s been a difficult health situation in my family. 2012 came in roaring, and though I wish it would settle down and start acting its age, I doubt it’s going to. I am, however, going to FINISH THIS BOOK. If I can stay awake long enough.
Each night, when I get into bed, I’ve been reading a few pages of Nina Planck. Her books were recommended to me by a couple of you, and clearly, you know me well. For obvious reasons, I’ve been thinking a lot lately about what I eat and why, and Planck’s defense of traditional whole foods like butter, eggs, and meat feels intuitive to me. It’s been a nice, sensible way to close out my long days. (And so, I should note, has Friday Night Lights, which I just finished. I miss Tim Riggins already. I’m not proud to have fallen for the brooding-hunk routine, but I’m willing to own it. I would also be willing, for the record, to watch an entire hour of close-ups of Taylor Kitsch’s lips, if the producers of the show ever decide to make a Best of Tim Riggins’s Makeout Scenes DVD.)
In any case, I was doing some research the other day, looking up granola bar recipes for a forthcoming Spilled Milk episode. When I came across one on Smitten Kitchen, it leapt out at me – not only because it made a chewy granola bar, which I like, and because it came from Deb, who knows her way around a kitchen, but mostly because I loved the no-nonsense ingredients: oats, nuts, nut butter, dried fruits, butter, honey, and very little else. The list of ingredients resonated with much of what I’ve been reading in Planck’s book, and that sealed the deal. I decided to try it. Of course, I did add chocolate. Let’s be clear about that.
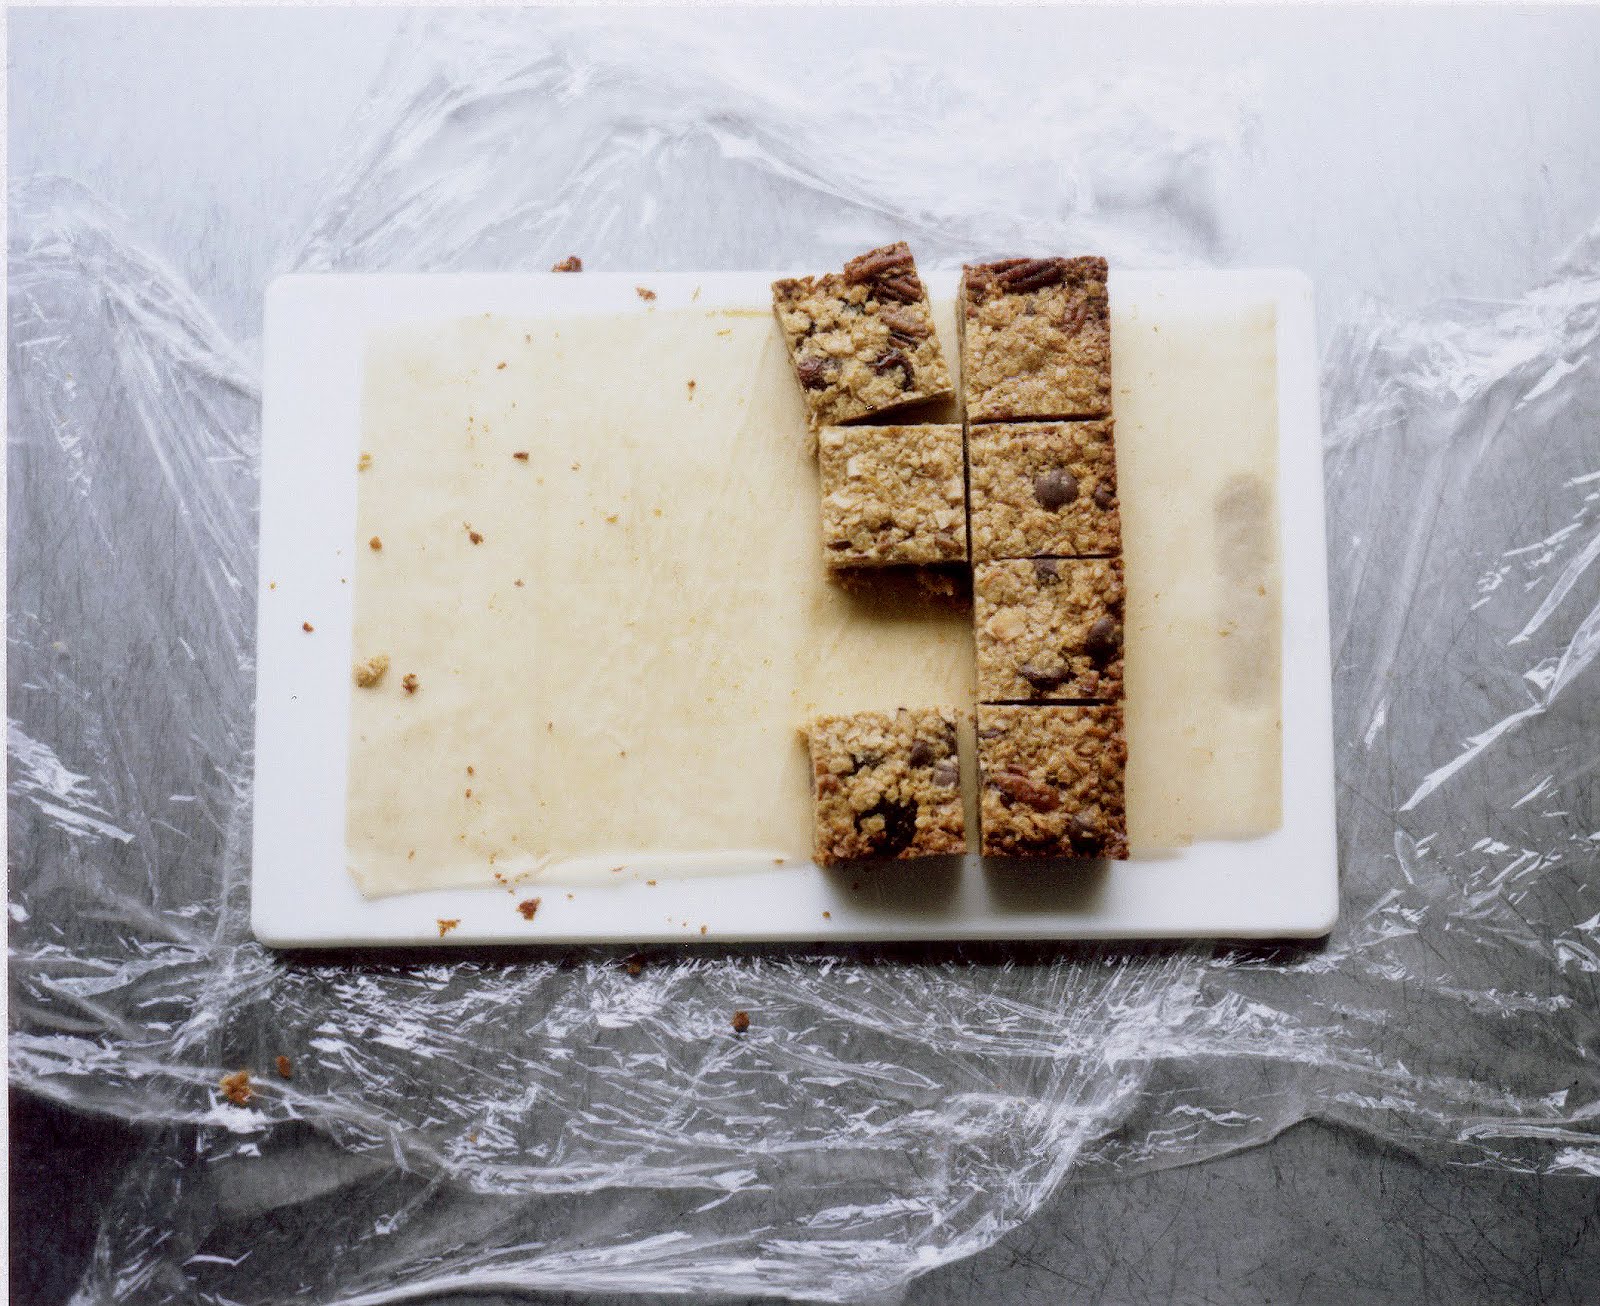
I love these granola bars. They straddle the line between nutritious afternoon pick-me-up, which I’ve been needing lately, and dessert, which I never really need but want anyway. For the most part, I followed Deb’s recipe – which she, in turn, adapted from King Arthur Flour – but I tailored the flavorings to suit my tastes. For a nut, I used pecans, because I like them in granola. I also threw in some big flakes of coconut. And some dried cherries, though only a few. (I don’t like a lot of fruit in my granola.) And the chocolate. I grew up on packaged granola bars with chocolate chips, and you know how I’ve come to feel about granola with chocolate, so it felt natural to throw in some chocolate chips that had been kicking around in the cupboard. I didn’t bother to chop anything, not even the pecan halves, and I was glad for it later. I liked all the lumps and bumps. The whole process took less than an hour, most of which was oven time, and 72 hours later, only a couple of bars are left. Brandon has been eating them for breakfast, and I took two to Matthew, and you can figure out the rest. I’m already planning another batch.
For my first go at this recipe, I used ½ cup (100 grams) sugar. That amount yielded a balanced, mildly sweet bar, but whenever I got a bite with cherries or chocolate, I wished that the base mixture were even a little less sweet. Next time, I’ll try cutting the sugar back to 1/3 cup (67 grams). Oh, and I should tell you that I used unrefined cane sugar. Like this. It’s what we use at Delancey, and over the past year, I’ve been using it more and more at home. I find it to be 100% interchangeable with regular white sugar. Also, I might leave out the cinnamon next time. Maybe. It’s nice, but there’s already a lot of good stuff going on in here. For chocolate, I used Ghirardelli 60% chocolate chips, but you could chop up and use any chocolate you like, preferably bittersweet. And if you’re confused by the thought of coconut chips, as I’ve been in the past, they’re the big, flat flakes. (Here’s a photograph.) Last, you don’t have to use the pecan-coconut-chocolate-cherry flavor combination that I chose, of course. You’re welcome to use a mixture of any fruits and/or nuts you want, ideally 2 to 3 cups in all. Preheat the oven to 350°F. Lightly butter an 8-inch square baking pan, or grease it with cooking spray. Cut a rectangle of parchment paper to line the bottom and two sides of the dish, leaving a little overhang. Press the parchment paper into the dish. Lightly grease the parchment paper. Put 1/3 cup (30 to 35 grams) of the quick-cooking oats in the bowl of a food processor. Process until finely ground. In a large bowl, stir together the remaining 1 2/3 cup oats, ground oats, sugar, pecans, coconut chips, chocolate chips, dried cherries, salt, and, if using, cinnamon. In a medium bowl, whisk together the peanut butter, vanilla extract, melted butter, honey, and water. Pour the wet ingredients over the dry ingredients, and stir well, until the mixture is evenly moistened. Transfer to the prepared pan, pressing the mixture firmly to ensure that it molds to the shape of the pan. (A piece of plastic wrap helps: just lay it over the pan before you begin pressing. Much less stickiness.) Bake the bars for about 30 minutes, or until they’re brown around the edges and just beginning to color on top, too. (I set a timer for 25 minutes and began checking on them at that point, and I was surprised to find that they were already browning at the edges. I left them in, however, for another 5 minutes or so, until the tops had a hint of color.) The mixture will still seem soft and almost underbaked if you press on it, but it’ll set as it cools. Transfer the pan to a rack, and allow the bars to cool completely in the pan. When cool, run a sharp knife along the edges of the pan; then pull up on the parchment paper to lift the sheet of bars out of the pan. Cut the bars into squares. Or, heck, rectangles. Whatever you want. Note: I let my bars cool for a number of hours, and they cut very neatly, but I noticed that some commenters on Deb’s post mentioned issues with crumbling. Here’s what she suggested: If your bars seem crumbly, refrigerate them in the pan for 30 minutes to further set them, and then try cutting them while cold. Another note: I stored my bars on a cutting board wrapped in plastic wrap, but if you’d like to put them in an airtight container, consider layering them between sheets of wax paper, so they don’t stick to one another. In hot weather, you might need to refrigerate them. Yield: 16 squaresChewy Granola Bars with Pecans, Chocolate, and Cherries
Adapted from Smitten Kitchen