
Tag: smitten kitchen
A short leap
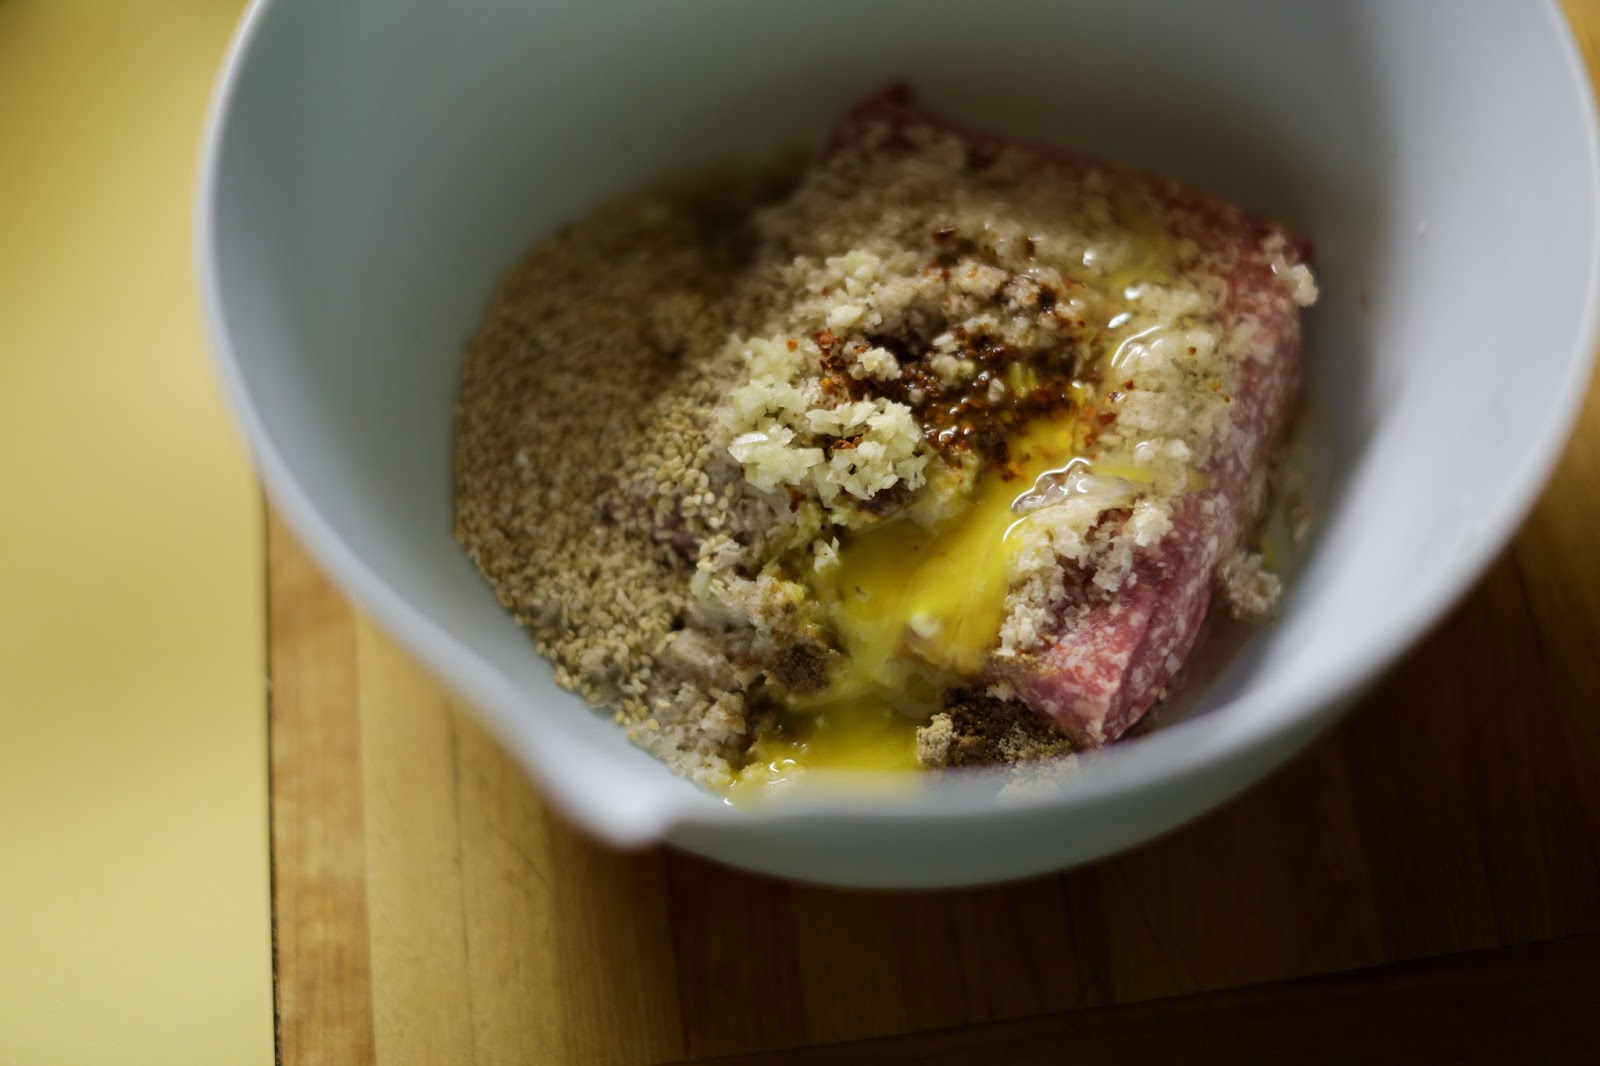
Our friend Ben is in town for a visit, and this past Friday, while we waited in line for lunch at Il Corvo – always worth the wait, in case you ever walked by and wondered – I told him about some lamb meatballs that I wanted to write up, but that I had a problem: the only photo I have is of the raw meat and seasonings in a bowl. Ooh, Ben said sharply, sucking air between his teeth, which I took to mean, That’s going to hurt.
And yet. AND YET.
Maybe it will ease the blow to know that the reason why I have no meatball photo is that, by the time they’re done cooking, they smell so irritatingly good, and I’m so irritable and hungry, that my claws come out and I throw myself on the pan. Anyway, I think my mother will love this recipe, and if I hold off on posting until I have a proper photo, it’ll be almost like I’m depriving my mother, my very own mother, of happiness.
I am not the first person in the world to own The Smitten Kitchen Cookbook, by the brilliant Deb Perelman, and I am also not the first person to be tempted by her recipe for Sesame-Spiced Turkey Meatballs. Deb mentions in the sidebar that the recipe can be made with ground lamb instead of turkey, and what I am, in fact, is here to report that, yes, absolutely, it can! I’ve done it myself five or six times now. There is probably no meat that doesn’t go well with toasted sesame seeds, garlic, cumin, coriander, and chile, but in most such cases, lamb would be my intuitive choice. The meatball that we’re talking about here has the basic flavor profile of falafel, right, and since lamb shows up in cooking across the Middle East, falafel to lamb is a short leap. I don’t know, but I sort of want to call these Falafel-Spiced Lamb Meatballs. Deb, I’m screwing up everything.
In any case, it’s nothing more complicated than mixing up ground meat and seasonings in a bowl and rolling them into balls. It’s the kind of cooking that can be accomplished with only minimal attention, while the rest of your brain is lulled to sleep by the sound of the waves crashing on the white noise machine in your kid’s room on the other side of the wall. (Or, you could listen to Spilled Milk. Did you know that we’re going weekly? And that you can donate to the show, which helps us buy ingredients and pay for hosting and wins our devotion to the grave and beyond?) The resulting meatballs are juicy, fragrant with cumin and coriander and garlic, and when you chew, there’s a faint, wonderful crackle of toasted sesame seeds between your teeth. The crackle might be the best part.
Deb serves hers with a smashed-chickpea salad that’s bright with sumac and lemon, and the combination is delicious. I like them with anything, though most often a pile of roasted vegetables. They would be perfect with couscous, or stuffed in a pita with shredded cabbage and chopped cucumber and some yogurt or tahini sauce, or even just heaped on plain rice with a cucumber salad on the side. The main thing to know is, they would be perfect.
Falafel-Spiced Lamb Meatballs
Adapted slightly from The Smitten Kitchen Cookbook, by Deb Perelman
Deb’s recipe calls for browning these meatballs in a pan and then finishing them in the oven, and while that certainly yields a stunner of a meatball, both in flavor and beauty, I regularly take a lazier route: I only bake them. Then I can basically walk away, and ta da, the meatballs cook themselves. Cleanup is also very easy, thanks to the parchment on the sheet pan. Do what you will.
Preheat the oven to 425°F. If you plan to skip the stovetop browning and only bake these, line a rimmed sheet pan with parchment.
Put the sesame seeds in a small skillet, and place the skillet over medium heat. Cook, stirring occasionally, until the seeds smell toasty and are beginning to turn golden. I never pay attention to exactly how long this takes, but it’s not terribly long.
While the sesame seeds toast, put the lamb through cayenne in a medium bowl. When they’re ready, add the toasted sesame seeds. Mix with a fork (or with your hand, my preference) until evenly mixed. Form the meat mixture into 1½-inch, or golf-ball-sized, balls. (This is easiest to do if your hands are wet; that will help to keep the meat from sticking to you.) If you plan to brown the meatballs on the stovetop, arrange them on a tray or large plate; if you plan to only bake them, arrange them on the prepared sheet pan.
At this point, if you’re lazy like me, put the sheet pan in the oven and walk away. After about 10 minutes, pull out your thermometer (all hail the Thermapen! Possibly my single favorite kitchen tool!) and poke one or two of the meatballs: when they’re ready, the internal temperature will be between 160 and 165 degrees. If they’re not hot enough, slide them back in, and check again shortly. Again, I never seem to keep track of how long they take to cook. Somewhere between 12 and 15 minutes, I think?
If you’re a better person and plan to brown your meatballs as Deb directs, heat a generous slick of oil in a large ovenproof skillet or sauté pan. Brown the meatballs in batches, taking care not to crowd the pan or nudge them before they’re good and brown. Be gentle as you turn them: they’re soft! Transfer the meatballs to a paper-towel-lined tray or plate, and continue cooking in more batches until they’re all browned. Then discard the oil, wipe all but a little of it from the pan, and return all of the meatballs to the pan. Slide into the oven, and bake until a thermometer reads an internal temperature of 160 to 165 degrees, or about 10 to 15 minutes.
Note: These meatballs freeze beautifully. I like to cook about half of them right away and then freeze the remaining half on a sheet pan lined with parchment. When they’re frozen solid, I transfer them from the pan to a plastic storage bag. They thaw quickly – and actually, I’ve even baked them while they were still slightly frozen. It took a bit longer, but no harm done.
Yield: about 4 servings, or roughly 25 meatballs
You know me well
My manuscript is due on June 1. Hello from the Cave – or, as I first typed, “Hell from the Cave,” which has a nice slasher-movie ring to it. Hi. For those keeping track, no, you are not crazy: the book was supposed to be due in March. I had to ask for an extension, unfortunately, because of the small human under my shirt who makes me very tired, and because there’s been a difficult health situation in my family. 2012 came in roaring, and though I wish it would settle down and start acting its age, I doubt it’s going to. I am, however, going to FINISH THIS BOOK. If I can stay awake long enough. Each night, when…
Read more