Month: November 2010
She got out a skillet
I should begin with a confession: I’m not in Thanksgiving mode yet. Who knows. It’s weird. This holiday sort of sneaks up, I’ve noticed, and then it’s quickly eclipsed by Christmas, which is sad, since Thanksgiving is our only national holiday devoted wholly to eating. This year, we’re heading to New Jersey to visit family, and I will almost certainly make cranberry chutney and probably a chocolate pecan pie, but it’s been hard to plan from a distance. Thanksgiving of 2010, I apologize. I’ll do better next year.
On the upside, I ate almost two pounds of carrots today.
I’m not sure why, but I keep thinking about my host mother. I haven’t seen her for ten years, but still, I think of her often, and when I’m not thinking of her leeks vinaigrette, I’m thinking of her carrots cooked in a skillet with onion and thyme. Corentine always cooked vegetables on the stovetop. It hadn’t occurred to me how accustomed I was to oven-roasting everything – broccoli, cauliflower, zucchini, eggplant, peppers, tomatoes, Brussels sprouts, rutabagas, carrots, everything – until I noticed that she only used the oven for cakes and tarts and the occasional quiche. When she wanted to cook a vegetable, she got out a skillet and warmed some oil in it, or she got out a saucepan and the steamer basket. I didn’t think much about it at the time, and when I cooked for myself in her kitchen, I continued to roast as usual – using the drip pan of her broiler pan, since she didn’t seem to have a baking sheet. But when I came home, when I no longer had the luxury of sitting at her table each night, I missed her vegetables, and in particular, those carrots.
I don’t think of this as a holiday dish, so it feels a little misleading to write about it only a few days before Thanksgiving. It’s not that it isn’t worthy of a holiday table; it’s just that, for Corentine, this was bare-bones, stupid-easy, everyday eating. She would serve these carrots next to a piece of fish, with a slice of quiche, or a roasted chicken that she picked up at the market. It’s what you make when you’ve got too many carrots in the crisper drawer and you need something for dinner. But it’s also the kind of food that, to me, is synonymous with French home cooking: simple and inexpensive, but also nuanced, a little elegant.
I don’t want to call these sauteed carrots, because those two words usually point toward a cloying end, likely tossed with salted butter and honey, so mushy that no actual chewing is required. When I talk about Corentine’s carrots, I call them skillet carrots, because it sounds nicer, and also because the skillet and its lid are the key elements here. These are not sauteed carrots: they’re sort of sauteed, sort of steamed, and sort of stewed. I watched Corentine cook carrots this way a number of times, and though I now can’t remember whether she used olive oil or safflower oil (her usual go-to), the basic gist is this. You warm a nice amount of oil in a large skillet, and then you soften sliced onions in it. Then you add sliced garlic, and a few minutes later, you add a lot of sliced carrots and some sprigs of fresh thyme and maybe a little more oil, and then you cover the pan with a lid and let things roll along until the carrots are tender. But that doesn’t quite capture it: what’s really happening under the lid, where you can’t see, is that the carrots and onions are mingling, stewing together, spending quality time, so that in the end, the onions are nearly caramelized and the carrots are almost rich, sticky with the onions’ natural sugars.
Corentine served the dish just like that, and you can, too, but I like to add a small amount of red wine vinegar at the very end, a subtle dose of acidity, enough to gently perk up the earthbound flavor of the carrots without adding any flavor of its own. Last night I ate these carrots with a couple of fried eggs and let the yolks scurry around and sauce them, which I highly recommend. Today I’m a little under the weather, so I ate them on their own tonight, two heaping plates’ worth, and I highly recommend that, too.
Happy Thanksgiving.
Skillet Carrots with Onions and Thyme
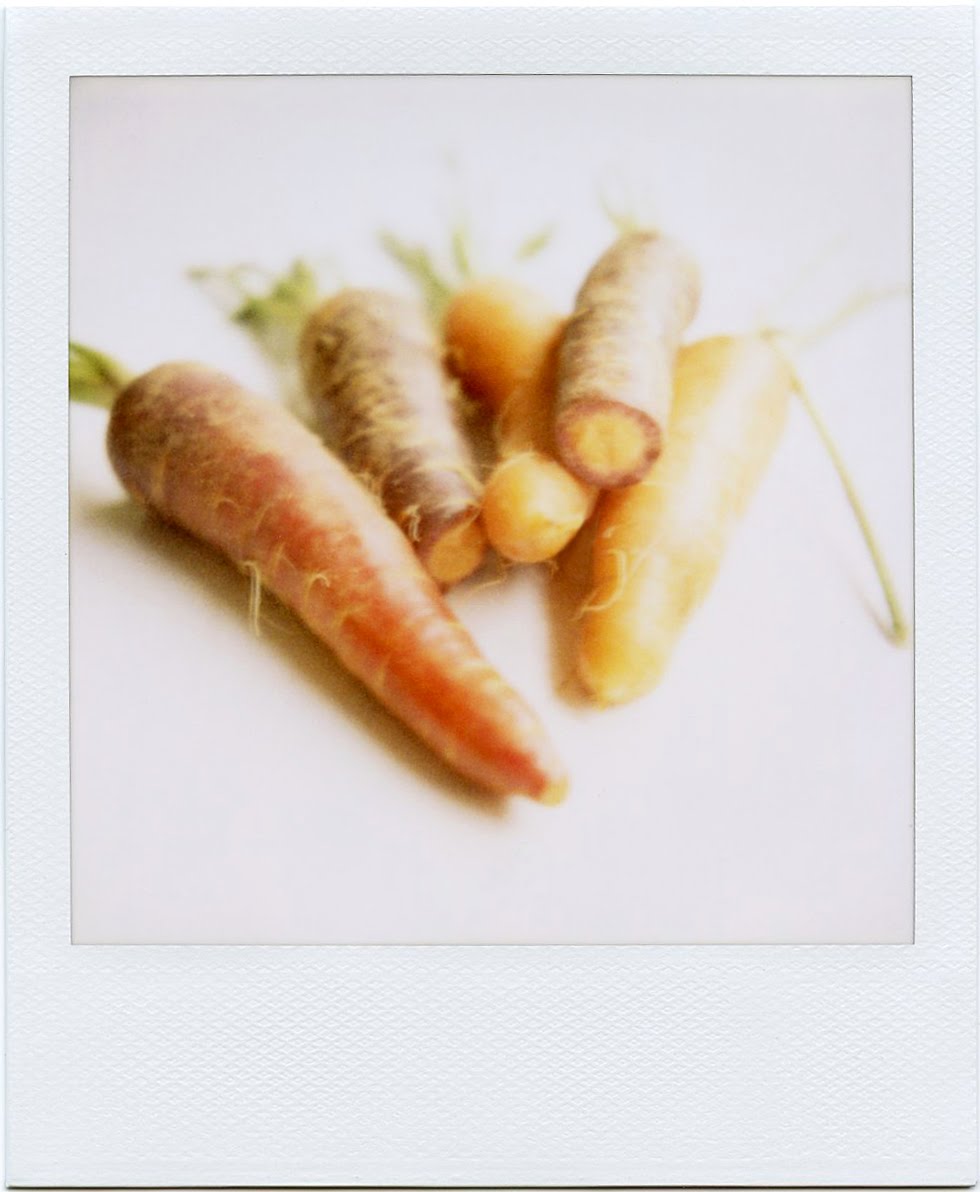
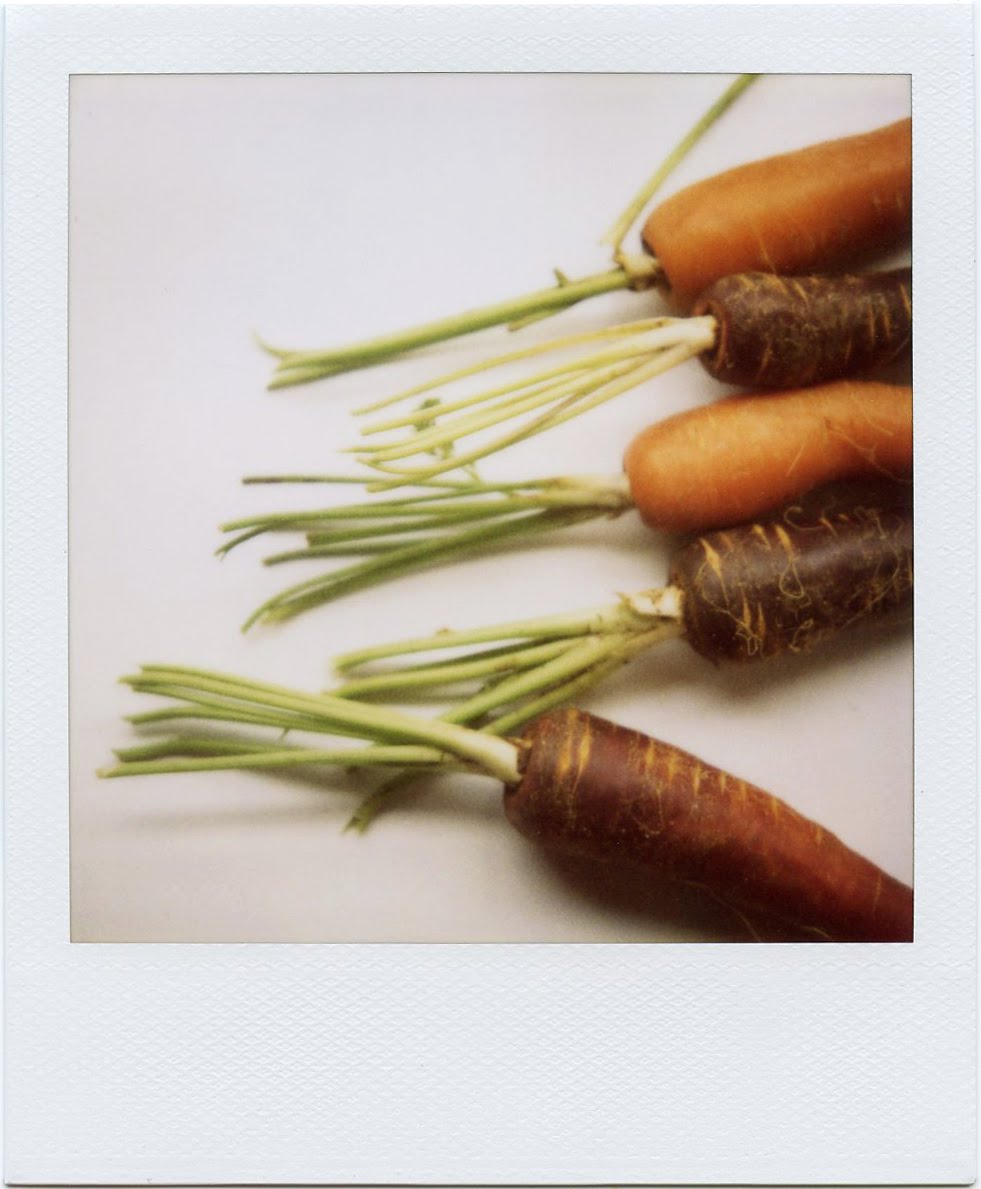
My host mother used regular orange carrots, but I like to use purple and yellow ones, too, when I can find them. They keep their color when cooked, so they make the dish especially handsome. Whatever carrots you use, make sure that they taste sweet in their raw state: a dull, bitter carrot cannot be fixed. I don’t bother to peel my carrots, but I do wash them well.
Also, for this recipe, I like to slice my onions from stem end to root end, like this, so that they keep their shape and integrity as they cook. When you slice onions the other way – across their equators, you could say – they tend to fall apart during cooking.
Warm a large skillet over medium-high heat. When it’s hot, add a good amount of olive oil, enough to film the bottom of the pan. Add the onions – they should sizzle – stir to coat with oil. Salt lightly. Cook, stirring frequently, until the onions are softened but not browned. Add the garlic, reduce the heat to medium, and cook for a few more minutes, until the garlic is fragrant. Add the carrots, thyme, and a couple of generous pinches of salt, and stir to mix. If the carrots look dry, add a little more oil to lightly coat them; this dish needs more oil than you might think. Cover the pan and continue to cook over medium heat, stirring occasionally, until the carrots are tender and the onions are very soft. (I never seem to pay attention to how long this takes, but I would guess that it takes somewhere between 10 and 20 minutes.) Remove the pan from the heat, and discard the thyme sprigs. Sprinkle the vinegar over the carrots. Stir gently to incorporate: the vinegar should subtly brighten the flavor of the carrots without being discernable itself. Add more vinegar, if needed, and salt to taste.
Serve hot.
Yield: 4 to 6 servings
I am sold
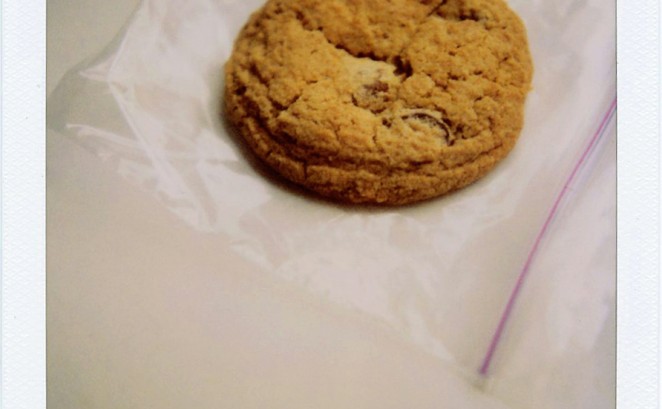
I know this cookie looks wholesome. Actually, I’ll raise you one and say that it verges on homely. But this cookie speaks to me, and what it says is, Hey, baaaabe-eh. In this voice. Meet Kim Boyce’s whole wheat chocolate chip cookie. This might be my favorite chocolate chip cookie, which is an absolutely insane thing to say, because until about a week ago, I thought that title belonged, forever and ever, to the New York Times chocolate chip cookie. I don’t know what I think anymore. Let’s just call this my new favorite chocolate chip cookie and leave it at that.I first heard about this recipe from Luisa, and then Lecia mentioned it to me, too, and maybe Brian,…
Read more