Month: October 2010
Drop everything
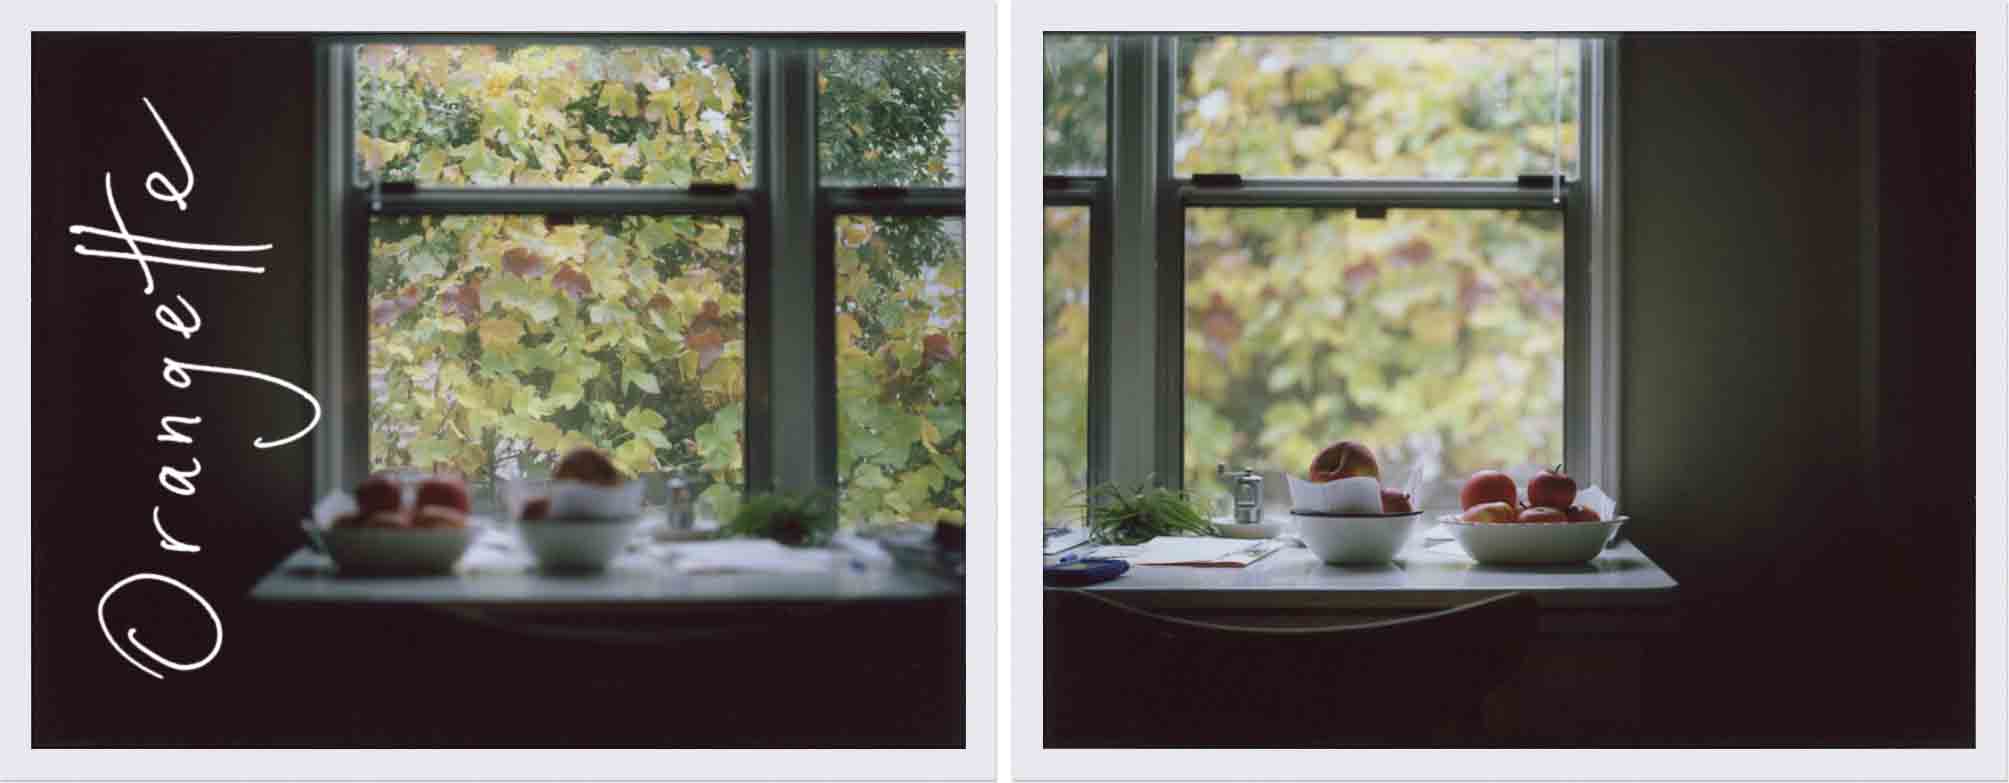
A year or so ago, when we opened Delancey, I thought our lives were over and we would never see our friends again. Now that I type that out, it sounds like I was channeling Chicken Little, but my thinking wasn’t without reason: in the restaurant business, you work when other people play, and that complicates almost everything. But as it turns out, our friends are more flexible than I had given them credit for, and like us, a lot of them work odd hours. So over the past several months, we’ve begun to tweak our collective habits. I didn’t know this, but dinner parties don’t have to take place at dinnertime. You can also have them in the daytime. For example, last Sunday, our friends Sam and Meredith invited us over for what we used to call Game Night, and what we now call Game Day.

(In our world, Sam and Meredith are famous for their good ideas.)
The plan was to play a game called Agricola.
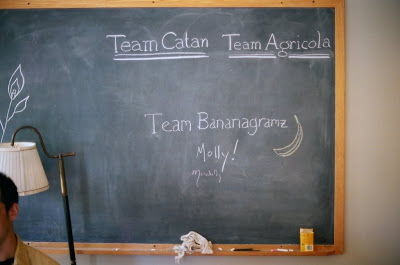
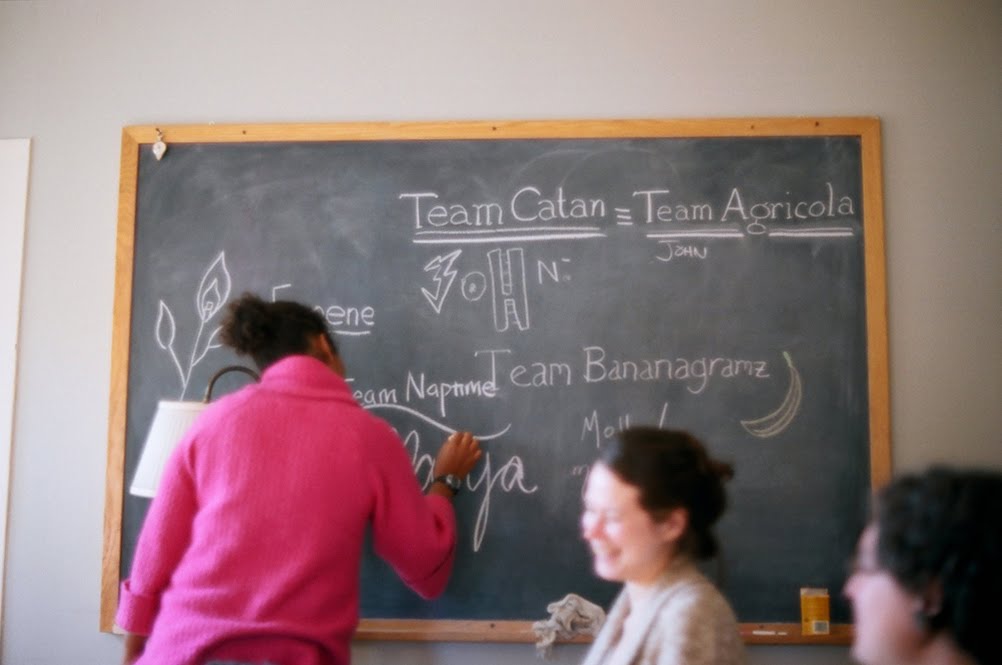
But we wound up with too many people for that, so we broke off into groups: Team Agricola, Team Settlers of Catan, Team Bananagrams, and the wishful Team Naptime, which was quickly disbanded when it was noted that sleeping is not a sanctioned Game Day activity. I played six rounds of Bananagrams and won none. My new life goal is to win once, only once, at Bananagrams. I don’t ask for a lot.
On the upside, we also ate some cheese, and we drank a little beer. Meredith roasted dates. Olaiya steamed mussels in white wine.
And most important for today’s purposes, my friend Keena taught me to make a spectacular gazpacho, which is big news, because I don’t usually like gazpacho. It often tastes flat and tinny, like canned tomato juice, and on a particularly unfortunate day, it can resemble a regrettable attempt at salsa. Keena’s is neither. It’s smooth and almost creamy, an opaque shade of orange, with a whiff of olive oil and a kick of sherry vinegar. The only sad part of this story is that I was so busy getting destroyed at Bananagrams that I downed it before I thought to take a picture.

I’m on the road this week, and my Internet connection is so slow that getting this thing posted has aged me by about a year, but I wanted to say hi. That, and that you should drop everything and make this gazpacho, before the good tomatoes and peppers are gone. It’s going to be a long, hard winter of tubers and crucifers. This is our last hurrah.
Keena’s gazpacho starts with olive oil, which you put in a blender and whip at high speed. It’s an unusual step, and it’s the key, I think, to this recipe. It gives the soup its light, nearly velvety texture, as though you’d sneaked in a dash of cream. When the olive oil thickens and begins to froth, you add garlic, sweet peppers, cucumber, and a combination of yellow and red tomatoes, and then you let it rip along on high for a while longer, until the mixture is smooth enough to be sipped from a glass, if you’re a gazpacho-sipping kind of person. If not, you can spoon it from a bowl. Either way, you’ll want to splash some sherry vinegar into the blender before you serve it, because that’s the spark that gets it glowing.
Keena’s Gazpacho
My friend Keena learned to make this gazpacho from her sister-in-law Margot. But I still call it Keena’s Gazpacho, because she’s put her own twist on it. Here are some notes to consider before you start:
– Keena uses heirloom tomatoes for their flavor and color, and at a minimum, she uses at least one yellow tomato, so that the finished gazpacho has a beautiful orange color. She tells me that when she tried making the recipe with only red tomatoes, it worked fine, but the taste seemed a little flatter and the color was less pretty. Her sister-in-law once made it using all Green Zebra heirloom tomatoes and a yellow pepper instead of a red one, and the resulting gazpacho was a pretty shade of green. Whatever tomatoes she uses, Keena makes this gazpacho in a 7-cup blender, and the size of the blender determines how many tomatoes you can use. She uses as many as will fit in her blender jar.
– Keena likes her gazpacho smooth and sippable, but her sister-in-law garnishes it with diced cucumber and bell peppers, so that it’s a little chunky. You can do whatever you want.
Bring a saucepan of water to a boil. Score an “X” into the bottom of each tomato, and then blanch them until the skin begins to peel back around the “X.” Remove from the water, cool them until they’re not too hot to handle, and then peel. Remove and discard the stems, and cut out the rough spot where the stem attaches. Chop coarsely.
Put the olive oil in a blender, and blend on high speed until frothy. Add the garlic, and process briefly. Add the bell peppers, cucumber, a couple pinches of salt, and as many tomatoes as will fit comfortably into your blender. Process on high speed for a while, stopping the blender from time to time to scrape down the sides of the jar and mush around the ingredients as needed to allow the blender to run smoothly. (The mixture will be fairly thick until the tomatoes are pureed.) Let the blender go as long as you can stand the noise; the longer it goes, the better it will taste and the creamier it will be. Add 2 tablespoons of the sherry vinegar, and process to incorporate. Taste, and add vinegar and salt as needed.
Chill thoroughly before serving.
Yield: about 6 servings
Now here, now there
I have two half brothers who live on the East Coast, and when I was a kid, if they came home for the holidays, they would bring a Styrofoam cooler of oysters. My father would get out his knife and shucking glove and lean against the kitchen counter, flicking grit and shells into the sink as he went, and they would all stand around, eating and sighing, making the noises that people make when they eat oysters. I don’t know how old I was that night, but I think I must have been about six. I stood next to my father while he shucked, and he leaned down and gave me an oyster, a fat one, an enormous one, amoeba-like,…
Read moreBecause there was a bag of plums
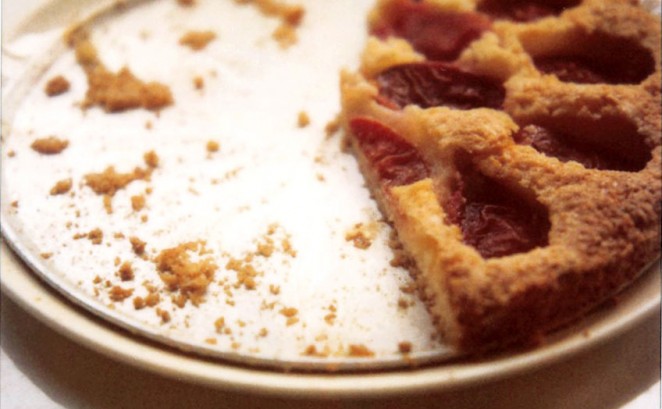
I took this picture on an excellent afternoon. It was a Saturday. I had just met a deadline that I had been dreading. I was immensely relieved. Two of our best friends were in town for a visit, two friends who moved here a couple of years ago and became sort of like family, but then they found jobs and gigs in other cities, so they moved away. But they were in town on this particular day, and we had stayed up late the night before, and the night before that, and now it was late afternoon. Bonnie had a concert, and Ben was driving her to rehearsal, and Brandon was at the restaurant, and I was home alone. Because…
Read more