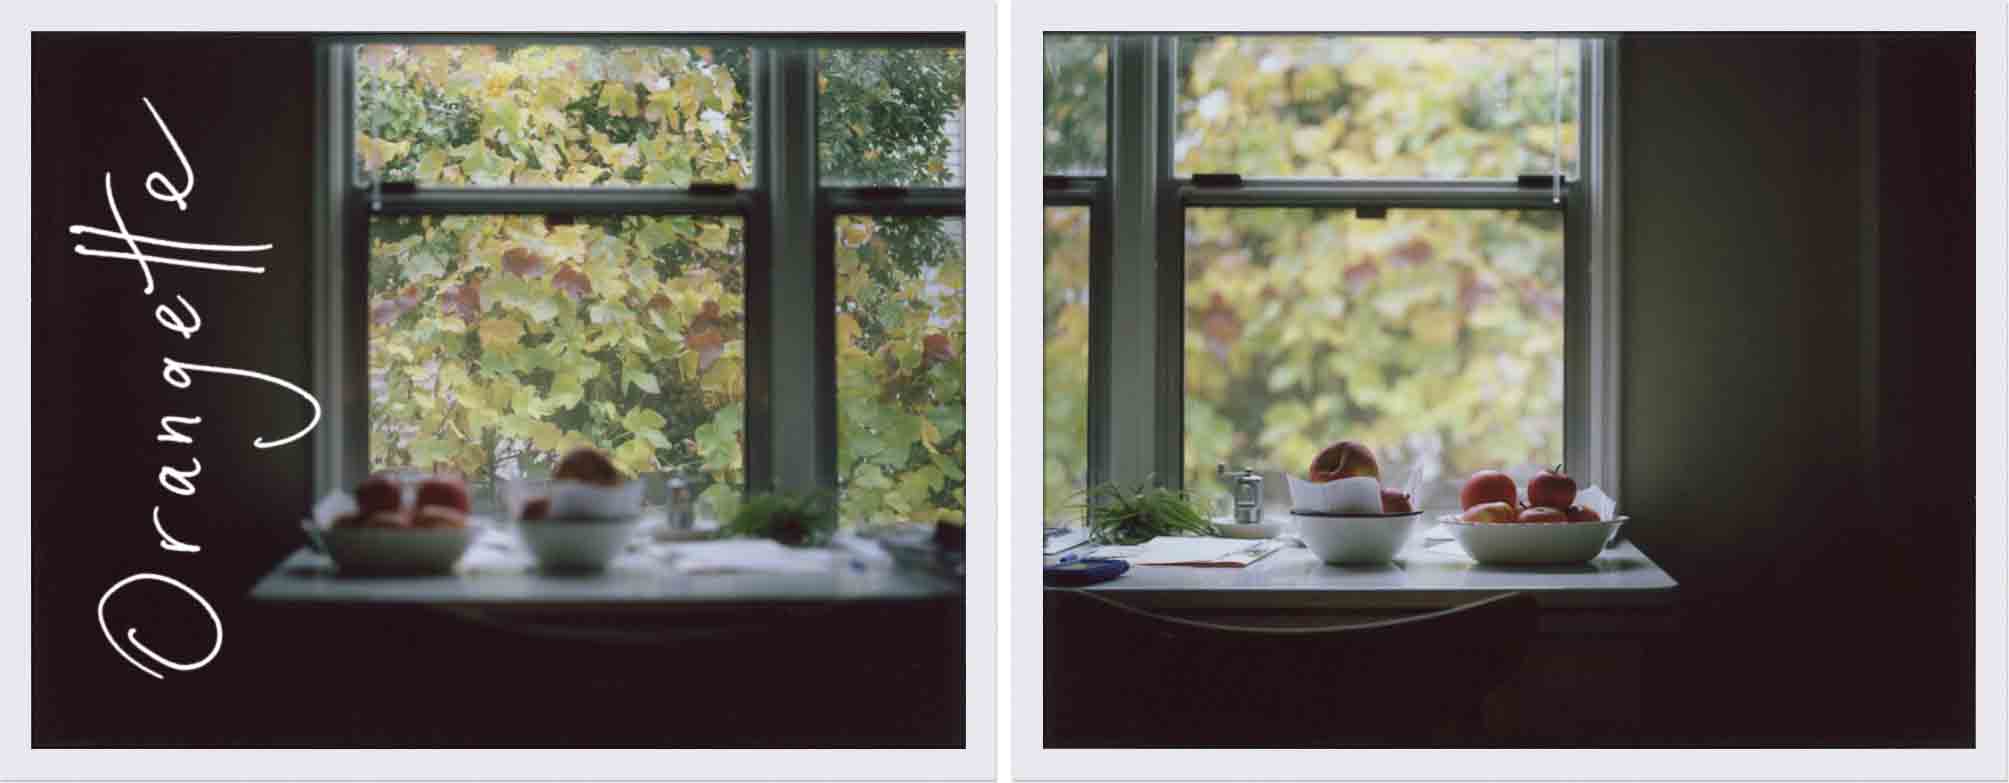
Cooking with a young child
Today, on the ole blog: some thoughts about cooking with a kid! After the jump! Because I totally get that not everyone wants to read about kid stuff! See you next time!
June started school last fall, and we enrolled her in a Montessori school. I went to a Montessori-influenced school, myself, from preschool through middle school, and Brandon once spent a year teaching music in a Montessori school, and without going into a whole bunch of educational philosophy that I only vaguely follow and that, as a result, makes me really sleepy, I will just say that I loved the Montessori method as a student, and that it makes a lot of sense to us as parents. (Let’s ignore, for now, the fact that I will possibly never be accustomed to thinking of myself as a Parent.) Despite my lifelong tendency to overthink everything, I have always had a weird, vaguely witchy, but very welcome sense that June will be okay in life, whatever we do. And so, when a number of friends and acquaintances recommended this particular school, Brandon and I crossed our fingers and, without much more than that, decided to go for it.
In any case, parents are required to spend a handful of hours volunteering at this school. And recently, as I spent an hour helping a gaggle of preschoolers prepare berry shortcake for a tea party, I was struck by how capable these small humans are, able to slice the stems from strawberries and wash slippery dishware with great care, even as they also wipe their noses on their sleeves and sneak berries from the bowl because it’s reeeeeeeeally hard to wait. June is essentially growing up in a restaurant, and cooking at home is a daily thing, but we are regular mortal parents, not Superparents: we don’t often involve her in the actual preparation of meals, because cooking with a three-year-old is not Supereasy, and because of the nose on the sleeve, the whole hard-to-wait thing, the FEMA-level cleanup effort. Last summer, she and I made cobbler together, and she’s good at cracking eggs, and she and Brandon have even made pizza together. But given how often we prepare food at home, how normal it is in our household, well, in the grand scheme of things, we do not often cook with our kid. And I came home from my volunteer shift feeling itchy to change that. I came home with a different sense of possibility, a renewed appreciation for the practical education of everyday life, and a gut feeling that June can do more than we have been asking of her – and that she wants to.
This past Wednesday morning, we had another little girl and her mom over, and the four of us made cookies. This is not something I usually do in the middle of the week, I should clarify, but since it’s June’s mid-winter break, and since Brandon is working long hours on Dino’s (opening within the month!) and we are short on childcare and I am trying to keep June and myself productively occupied so one or both of us doesn’t start yelling and/or crying, making cookies with friends seemed like a good way to pass a morning. And it was. As I was cleaning up afterward and reveling in the holy quiet that is nap time, I realized that the morning had gone well, in part, because June and I went into it with a certain amount of trust, structure, and preparation. And I decided to sit down and write a small list of the things I know about cooking with a young child, before I forget them all.
Number 1! I try, I really try, not to fetishize food or cooking. Food is an extremely pleasurable, nourishing part of life, and we get to share it with people: that’s amazing. But food is also a very normal, everyday thing, like sleeping, reading, and taking a walk. I don’t want her to think that food is something to be worshipped – or, conversely, loathed. And I know that the more excited I seem about something, and the more I am totally drooling all over myself to get her excited about it too, the less excited she will be. I try to play it cool.
2. A small, easy-to-move stool is essential. Or, if not a stool, a small, sturdy, kid-size chair that you don’t mind someone standing on. June pulls a small chair up to the counter to work beside me, to wash her hands at the sink, to do everything.
3. Lots of dish towels! I don’t care about spills, and I don’t care if my dish towels get stained or burned or torn, because I have lots and lots of them. (And as they get dirty, June gets to chuck them down “the laundry chute,” aka the stairs to our dungeon/first-floor-that-feels-like-a-basement.)
4. A couple of months ago, June came home from a visit to my mom’s house and suddenly, magically, knew how to crack an egg. THANK YOU, MOM! I would have never thought to teach her that. Turns out, three-year-olds are not only capable of cracking an egg, but they are INTO it, too. And if and when she gets a splinter of eggshell in the bowl, I just use part of the shell to scoop it out. (Or, if it’s too late to fish it out and the egg is already in the frying pan, Brandon and I have learned to, um, just take a big bite of egg, don’t chew too much, and swallow quickly.)
5. Do not cook or bake with a child when you are feeling cranky or in a hurry or are not willing to be pummeled with questions about everything. Actually maybe do not have a child if you are feeling cranky or in a hurry or are not willing to be pummeled with questions about everything.
6. Do not cook or bake with a child if you don’t want the kitchen to get dirty. Ha ha haaaaaaaaaa, oh man.
7. Measure and prep ingredients ahead of time, if at all possible, so that the child’s tasks are limited to stirring / dumping things from bowl to bowl / washing / things you want them to do / things they can do successfully.
8. Kids can cut up soft fruits and vegetables! Montessori knives and choppers are great, though I haven’t yet bought any for home. We mostly use a partially serrated butter knife.
9. Kids can wash dishes, if you show them how. And while June is not quite yet able to wash dishes well, she will be within the next six months to a year. (She’s 3½.)
10. Kids can set the table. June sets ours every night, taking the correct number of forks from the drawer and the correct number of napkins from the bowl and putting them (approximately) at our usual seats at the table. (Though she does like to “hide” the utensils inside the folded-up napkin because it’s so, so, sooooo funny.)
11. Kids can peel hard-boiled eggs, bananas, and clementines and mandarins, if you show them how. And they can serve others, counting out individual pieces of fruit or vegetables and making sure everyone gets the right amount.
12. When June was just old enough to stand on a chair without my worrying about her falling, I used to stand her next to me at the counter while I chopped vegetables for soup. And as I chopped them, I would slide them in front of her, and her job was then to put them into a bowl. That was fun for a long time, by which I mean five minutes. Still. These days, she can take it a step further, stirring olive oil into a bowl of vegetables for roasting and helping to distribute them on the pan.
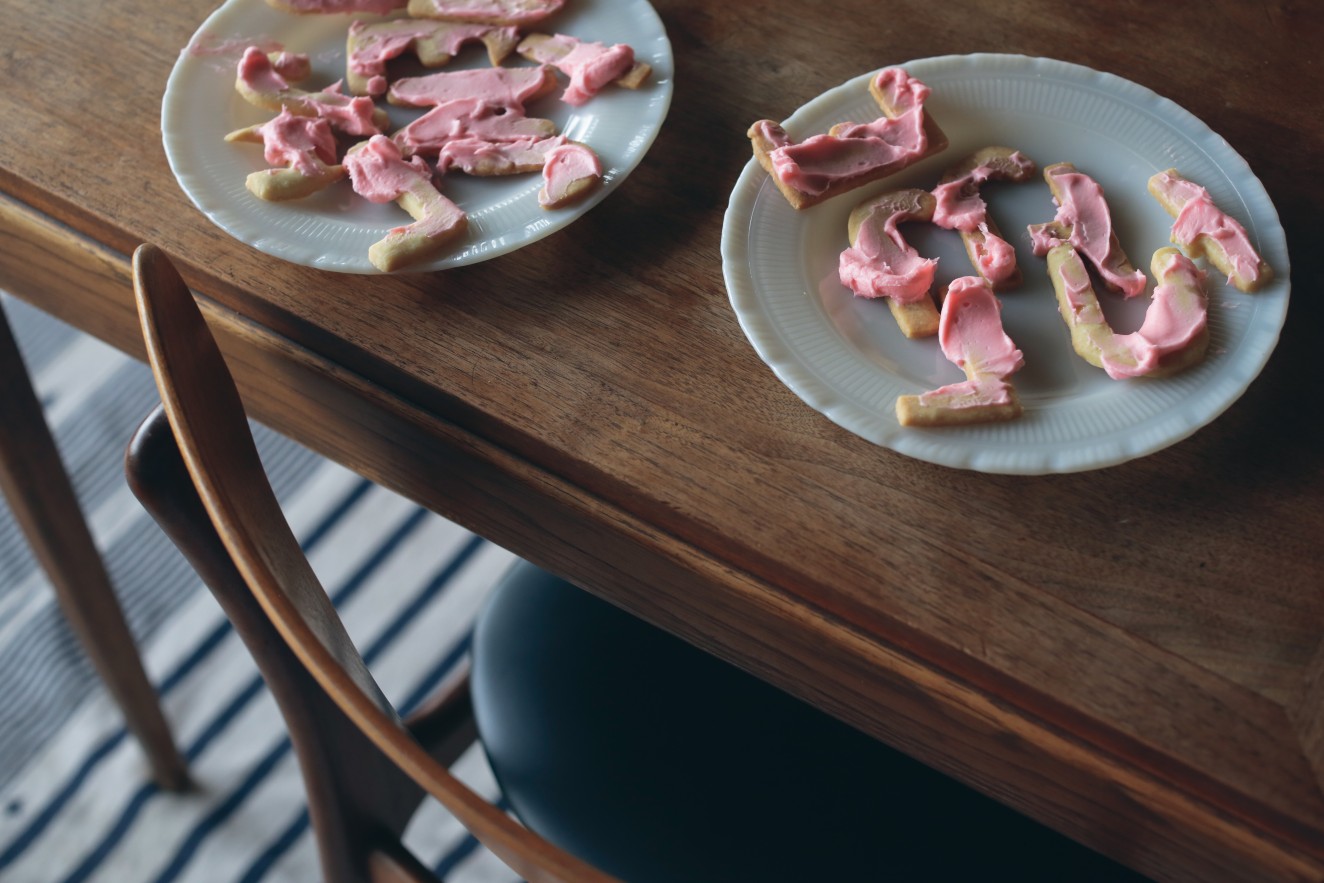
13. Kids can spread butter or jam on toast. They can put frosting on cookies and cakes. June can make her own peanut-butter-and-jelly sandwich. This all takes an investment of time up front – the first couple of times, June wanted to put the entire jar of jam on her sandwich – but now she’s made her own sandwich a half-dozen times, with only a minimum of (covert, across-the-room) attention on my part. And she’s so proud.
And, finally, 14. I ask myself this all the time, in every aspect of life: what is the worst that could happen? What is the worst thing that could happen if I let June make her own peanut-butter-and-jelly sandwich? She could, in fact, put the entire jar of jam on the sandwich. But really, so what? I actually don’t care very much. We will both (probably) survive it. My heart will go on. She’ll eat less jam tomorrow. Really, what is the worst that could happen? She makes a mess, for sure. That’s usually all. And unless the food I’m making with her is ready-to-eat – like a salad, or a sandwich – any germs will be cooked to death. The stakes are, in most things, much lower than we think.
That’s what I’ve got. That, and the recipe for Jimmy’s Pink Cookies from A Homemade Life, the recipe we made on Wednesday.
Thanks for sticking around. x
Jimmy's Pink Cookies
from A Homemade Life
I made the dough first thing on Wednesday morning, while June was watching Daniel Tiger – real talk – and it was ready to roll out an hour later, when our friends arrived. I highly recommend making the dough ahead, since waiting for dough to chill is not easy for kids. And if you can, go ahead and measure out the frosting ingredients while you’re doing the dough.
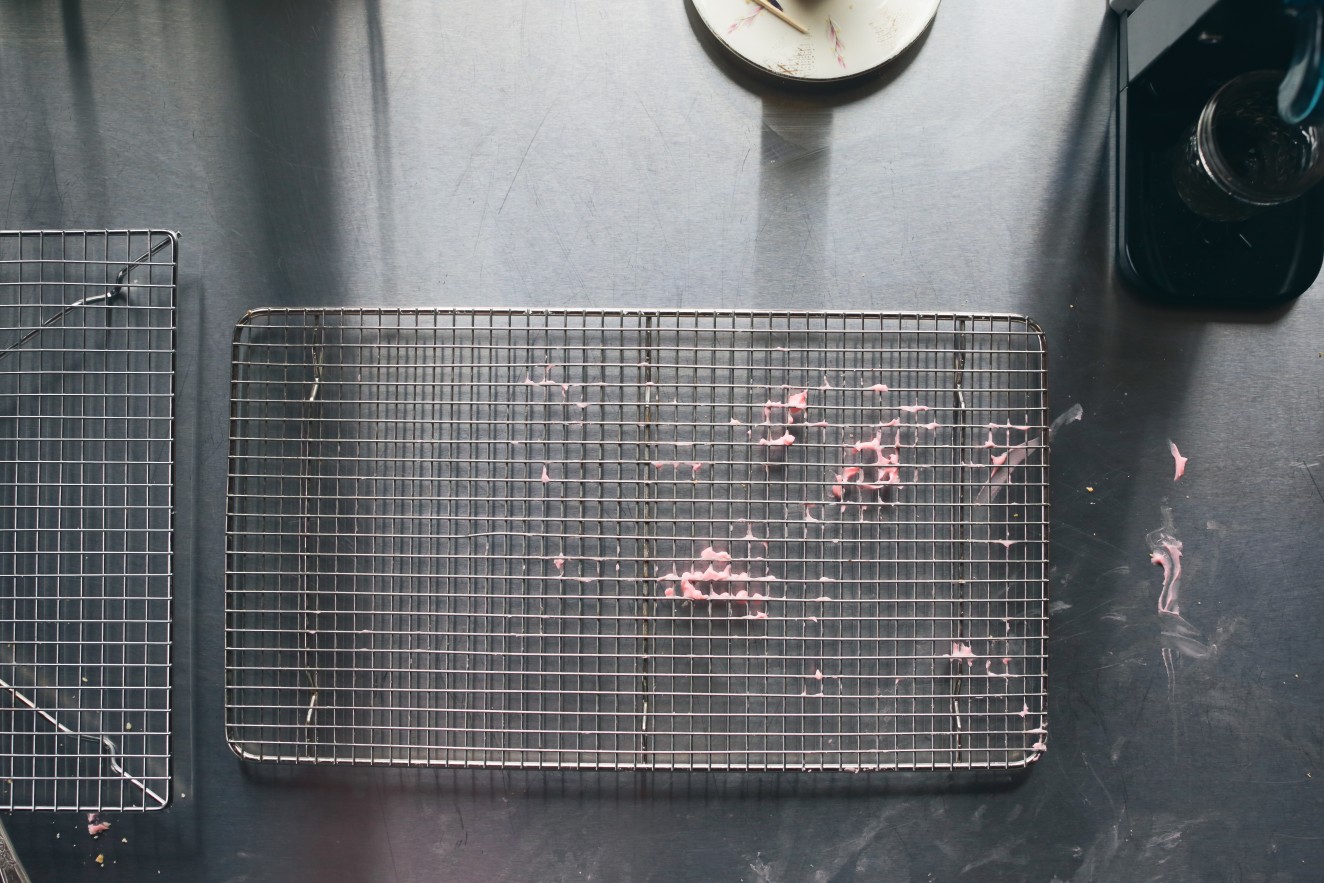
Once we were ready to get started, I took charge of rolling out the dough, and then the girls went to work with their chosen cookie cutters. (The original recipe below calls for using round cookie cutters, but we used alphabet shapes.) I helped ease the dough shapes from the cutters onto the baking sheet, and I rerolled the dough scraps as needed. But mostly, I let them do their thing. While the cookies baked and cooled, June helped me beat up the frosting, and then each kid got a small knife and their own bowl of frosting for spreading on the finished cookies.
For the cookies:
For the frosting:
To make the cookies, combine the butter and powdered sugar in the bowl of a stand mixer fitted with the paddle attachment. Beat, first on low speed and then slowly increasing to medium, until light and fluffy. Scrape down the side of the bowl as needed.
In a medium bowl, whisk the flour and salt. With the mixer on low speed, add the flour mixture to the butter mixture, beating until the flour is just absorbed. Add the vanilla, and beat well to incorporate. Lay a sheet of plastic wrap on the countertop, and turn the dough out onto it. Gather the dough into a ball, and press it into a thin, smooth disk. Wrap well, and refrigerate for one hour.
Preheat the oven to 325 degrees. Line two baking sheets with parchment.
On a clean, lightly floured surface, roll out the dough to a thickness of about 3/8 inch. Using a cookie cutter, cut the dough into any shape you like. (My friend Jimmy uses a heart-shaped cutter when he makes these cookies; I usually use a 2 ½-inch circle.)
Place the cookies on the prepared baking sheets, spacing them 1 ½ inches apart. Bake them one sheet at a time, keeping the second sheet in the fridge until the first is done, for about 16 minutes, or until the cookies look set and are just pale golden at the edge. Do not allow them to brown. Transfer the pan to a wire rack, and allow the cookies to cool completely on the pan. Repeat.
To make the frosting, put the cream cheese and butter in the bowl of a stand mixer fitted with a paddle attachment, and beat on medium speed until smooth. Add the powdered sugar, and beat on low speed to incorporate. Then raise the speed to medium, and beat until there are no lumps, scraping down the side of the bowl as needed. Add the kirsch and a couple of drops of food coloring, and beat well. The frosting should be pale pink, ideally, though June wanted it darker than that, so we added some more coloring. Spread the frosting generously – this is key! lots of frosting! – onto the fully cooled cookies.
Stored in an airtight container, the frosted cookies will keep in the fridge for a few days, and they’re delicious cold. You can also freeze them.
Yield: 10 to 12 (3-inch) cookies, or more smaller cookies