Tag: summer
June 30
A couple of weeks ago, while researching rhubarb crumble recipes for the Crisps and Crumbles episode of Spilled Milk (still going strong, 52 weeks a year! and still featuring impromptu hair-metal duets!), I pulled down an old copy of Canal House Cooking, and it fell open to page 57, “Cutlets Smothered in Peas.” That’s when it dawned on me that I had somehow made it to age almost-39 without ever cooking a chicken cutlet, and that my child had somehow made it to age almost-five without ever eating a chicken cutlet. I understand this makes one subject to ridicule and rebuke not only in America, but also in many other parts of the world, including Japan, where panko-breaded, pan-fried chicken or pork cutlets (katsu) are, I hear – and hope to see for myself one day – a national staple.
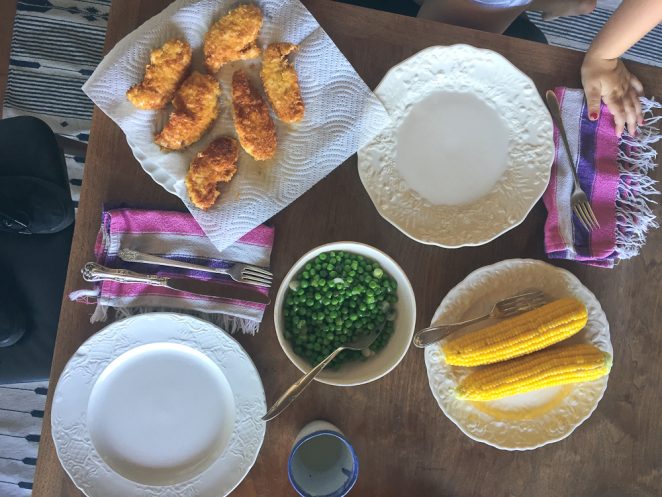
You probably already know how to cook chicken cutlets? I didn’t, and the Canal House recipe didn’t go into much detail, so I texted Matthew, who knows how to cook almost everything. The recipe below is quick and loose, a combination of Matthew’s instructions, some online recipe-reading, and Canal House’s smothered pea idea, banged out on my electric stove on a warm June night as an early dinner for two. (If you’re looking to do traditional katsu, which calls for pounding the meat to an even thinness and frying with greater exactness, Kenji Lopez-Alt has an excellent method.)
I recommend serving cutlets and peas with corn on the cob, cooked quickly in a skillet of simmering, well-salted water. In my experience, almost-five-year-olds are great at buttering corn on the cob. They can also participate in the chicken-dredging process, provided that your almost-five-year-old is a good hand-washer (and/or you are an exacting hand-washing supervisor). Almost-five-year-olds can also set the table. They may choose to do all of the above wearing only underwear and chipped nail polish. Upon taking a first bite, they may even exclaim, “I love this recipe!” Almost-five-year-olds are the greatest, except when they are not.
(A normal old recipe post! That was fun.)
Also:
- The aforementioned Matthew and I are teaching a two-day travel writing workshop at the Pantry on July 15th and 16th. Please join us. The description reads thus: The best travel writing brings you all of the discovery, disasters, and deliciousness of travel with none of the flight delays. But how do you write about a place without sounding like a Chamber of Commerce brochure? In this two-day workshop, bestselling authors Molly Wizenberg and Matthew Amster-Burton will show you how to find the story in a destination, zoom in on meaningful details, and understand right and wrong ways to put yourself into the story. To get you there, we’ll explore selections from writers like Fuchsia Dunlop, Ann Patchett, Rachel Khong, Bill Bryson, and more. Sign up via The Pantry.
- I’m reading Sherman Alexie’s new memoir, and it’s difficult and funny and immensely good. I loved his recent interview with Terry Gross on NPR’s Fresh Air.
- I wish Rookie had existed when I was a teenager. Of course, that doesn’t stop me from reading it now, and I’ve listened to every episode of the Rookie podcast. Tavi’s recent interview with writer and transgender activist Janet Mock was especially inspired. And don’t miss Roxane Gay on bodies, writing, and more.
Hi. We’re well, and I hope you are too.
Chicken Cutlets Smothered in Peas
Inspired by Canal House Cooking, Vol. 6: The Grocery Store
June didn’t like the scallion flavor in the peas, so next time, I’ll be leaving the scallions out. I like it either way.
Set out three shallow bowls. Put a large, heaping spoonful of flour in the first, the egg in the second, and a large, heaping spoonful of panko in the third. I didn’t measure the flour or panko, and I think you can safely eyeball it. Beat the egg well with a fork.
Season the cutlets with kosher salt.
Working with one cutlet at a time, dredge in flour with one hand, shaking off excess. Transfer to the egg dish, turning the cutlet with your other hand to coat both sides. Lift, allowing excess egg to drain off. Transfer to the panko bowl. With your first hand, scoop panko on top of the cutlet and gently press to adhere, taking care that the whole thing is coated. Transfer to a clean plate. Repeat with remaining cutlets. If this is done properly, your first hand should touch only dry ingredients, while your second hand should touch only wet, and ideally it’s not too messy. If it is, oh well.
Pour oil into a 10-inch skillet to a depth of ¼ to 1/3 inch. Place over medium-high heat. When the oil shimmers and runs loosely around the pan when you tilt it (around 350°F), gently lower the cutlets into the pan, laying them down away from you to prevent splashes of hot fat. Don’t crowd the pan; cook in batches if necessary. Cook cutlets until the bottom side is set, and then flip and fry until the second side is set. Continue cooking, flipping occasionally for even browning, until the cutlets are golden brown – fried-chicken color – and cooked through, about 4 to 5 minutes per side. I use a Thermapen to test for doneness, pulling cutlets from the pan around 155°F. They will rise to 165°F (the USDA safe temperature) as they rest. Transfer to a plate lined with a paper towel.
Meanwhile, melt the butter in a saucepan over medium heat. Add the peas and scallions and a generous dash of salt, stir to coat, cover, and cook until tender. I didn’t time this. Maybe 10 minutes?
Serve everything hot, the buttery peas spooned over the cutlets.
Yield: 2 to 3 servings
June 28
I am not, in general, someone who keeps a running catalog of her favorites: favorite movie, favorite book, favorite song, favorite color, favorite number, and so on. A couple of decades ago, if pressed, I might have offered The Shawshank Redemption as my favorite movie, because I have a thing for Tim Robbins, and I also have a thing for Morgan Freeman’s voice, and, of course, it’s also a first-rate story. But then I moved to Seattle and rekindled my teenage love for Singles, which you know all about because I mention it near-constantly, and because it’s the only movie I can actually quote lines from. Still, I don’t know that I’d call it my favorite. That’s a strong word, and it scares…
Read moreThe opposite of fancy
In August of 2014 – which, for those who are counting, was twenty-two entire months ago – I mentioned my friend Natalie’s “famous cucumber dip.” A bunch of you asked for the recipe, so I e-mailed Natalie, and she sent it promptly. The recipe is not fancy. It’s the opposite of fancy. I liked that about it, and I was very excited about the new chapter of my existence that was revealing itself, an existence promising as much famous cucumber dip as I could get myself around. I was going to write about it immediately. But then a few days went by, and then more days after that, and some more after that. By then, it was sometime around New Year’s Day of…
Read moreJune 26
I am feeling profoundly (or, as my fingers tried to put it, “feely profounding”) inarticulate today in the wake of the Supreme Court’s ruling on same-sex marriage. I keep thinking of my uncle Jerry, the first gay person I ever knew, whose death to AIDS in 1988 spurred me to activism as a young kid with moussed bangs and a Silence=Death sweatshirt, and in whose memory June carries one of her middle names. I wonder what he would say today. I’m grateful, relieved, elated, and beyond, that June will grow up in a world that’s very different from what I knew in 1980s Oklahoma. It also feels like a fitting time to reread John Birdsall’s whip-smart Lucky Peach piece, “America, Your Food…
Read moreAnd: FUDGESICLES
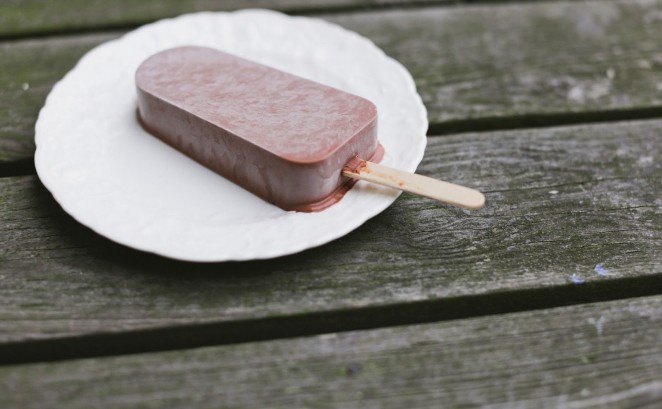
I have a child who is about to be two years old. I have a lot of thoughts on the subject, but one thing I do not have a lot of thoughts about is a second birthday party. I could take it or leave it. For one thing, June doesn’t understand birthdays yet, so it doesn’t matter to her either way. Also, I am lazier than I let on. When your kid turns one, a party feels mandatory, because you kept a small human alive for an entire year and you survived it and bells must be energetically rung. Cake must be baked! BEERS MUST BE DRUNK! I am here to report, however, that a second birthday party feels much less…
Read moreAugust 18
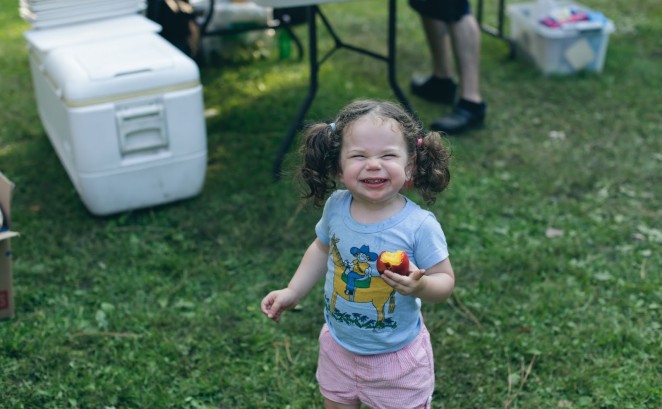
A couple of weekends ago, we packed up the better part of the restaurant kitchen, crammed it in the back of a pick-up, and drove two and a half hours east to cook an all-day anniversary party for a pair of longtime Delancey regulars. We rented a big house along the Wenatchee River, about ten minutes from the property where the party was held, and we brought as many people as we could fit inside, including a set of 8-month-old twins and one almost-two-year-old June. If you’ve ever been to Leavenworth in the summertime, you will remember how hot it gets. It hit 100 that weekend, and no one had air conditioning. The flies were out and biting. But the…
Read moreJuly 22

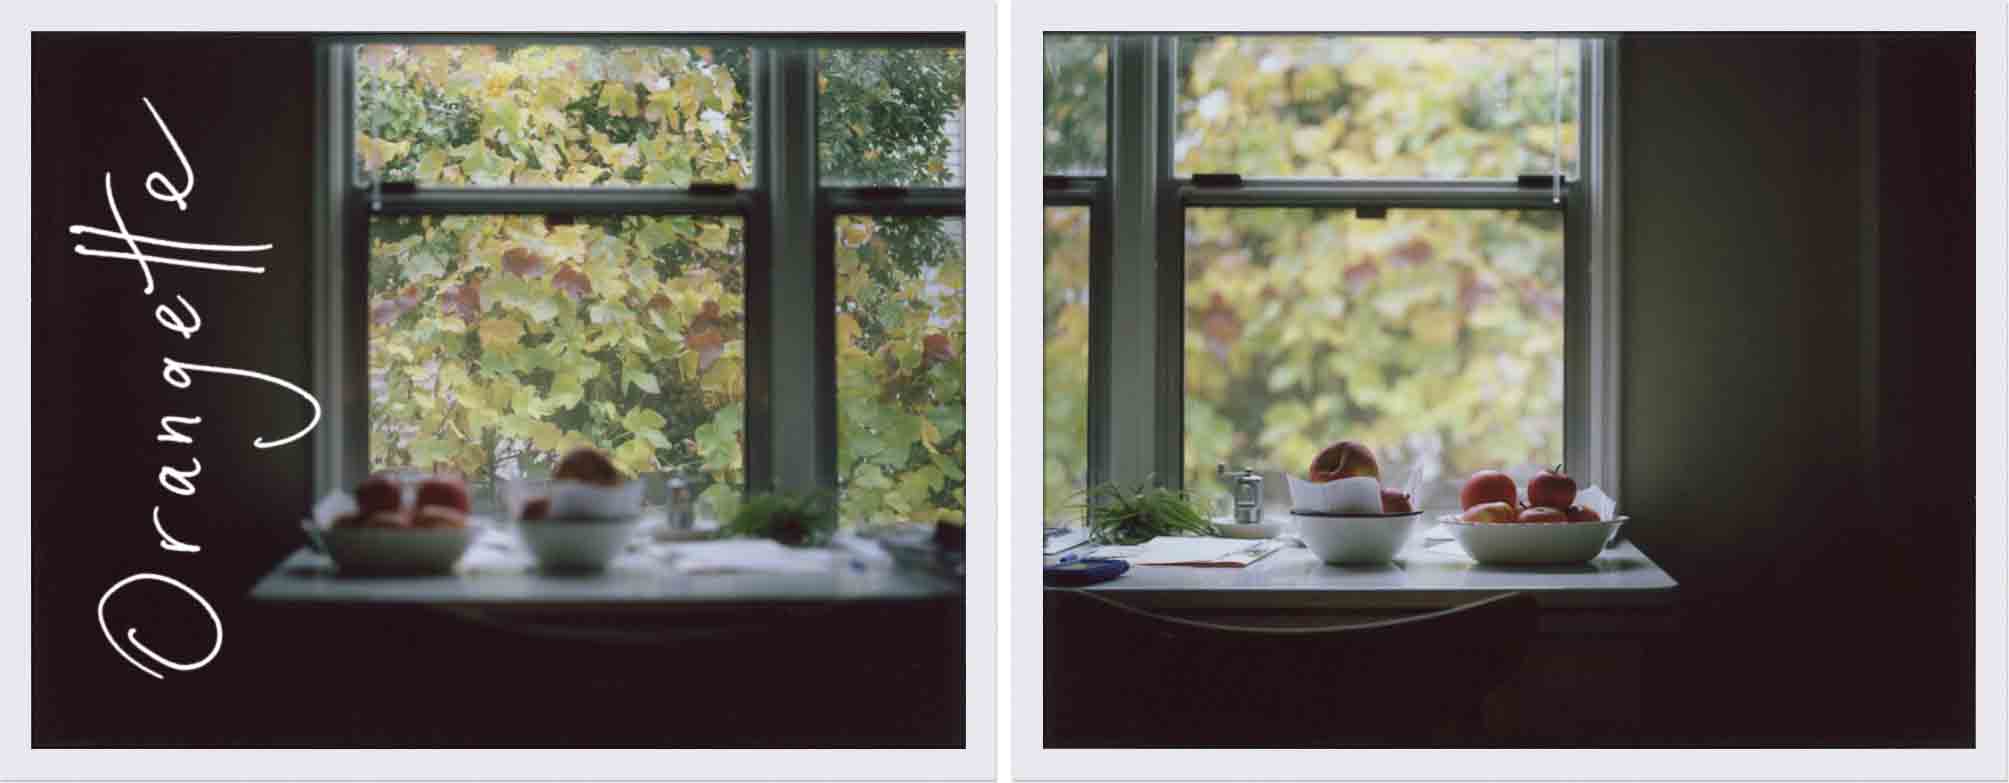
A month of summer gone already! I don’t want to think about it. I rediscovered my Fuji Instax over the weekend and have been firing off shots like I were made of money. That’s another thing I’ve decided not to think about. I want June to have photo albums from her childhood – proper, three-dimensional albums! With the requisite wonky Polaroids! Like the olden days! Next up: suspenders and a paper route! – so I’m not allowed to fuss over the cost of film or the stupid, stupid, stupid flash that goes off whether I want it or not. Babies: they get your priorities straight. I appreciate that. Though I wouldn’t mind sleeping past 6:30 again someday. It seems like…
Read moreI promised
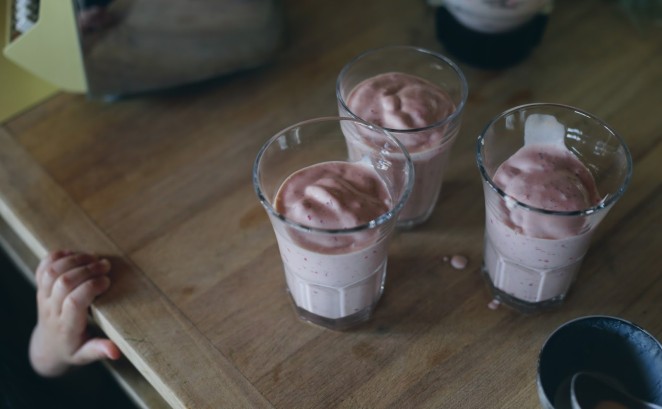
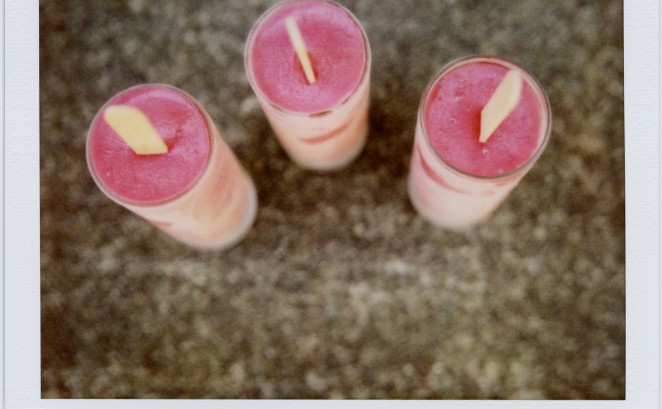
It hit 85 degrees in Seattle today, and here in our city of no air conditioning, that counts as a heat wave. I know: talking about the weather is boring, blah blah blah, but on a cloudless day in mid-July, the best one can hope for, I think, is to have nothing but the weather to talk about. I come this evening, however, to talk about sour cherry milkshakes. I promised. Most of us know sour cherries in their cooked form, as the kind of cherry that you bake into a pie. I didn’t know them at all until five summers ago, the summer of 2009, when we were about to open Delancey and I had no idea how to…
Read moreRun with it
It is 12:26 pm on June 23. I’m sitting at my desk in the window, which, if you were considering it, is a bad place to put a desk. What a person needs behind a desk is something sturdy, galvanizing, like a wall. Otherwise you’ll wind up spending your time as I am today: watching the world’s most subtle breeze blow through the branches of the neighbors’ tulip magnolia, wishing I were eating a cheeseburger. I’m slowly emerging from New Book Insanity. I am so relieved, so glad to have this book behind me and out in the world, and also so, so, so tired. Elated! Tired! Dead! (But hey, Spokane: I’m going to be in your town tomorrow night,…
Read moreA new reason
I just sat down, looked at the calendar, and noticed that it’s August 9th. June is eleven months old today. On Monday, Delancey will be four years old, and on Thursday, Essex will be one. Is this what happens when you become a firm-and-fast adult? You’ve done enough stuff and crossed paths with enough people that at some point, each day comes with a birthday or anniversary? I mean, in addition to bills and tax deadlines and increasingly tight hamstrings? In other words: there’s always a new reason to eat cake, isn’t there? Or drink wine? Both? I have a very cold bottle of riesling in the refrigerator. But there is no cake here, and that is because there is no…
Read moreNine

I am typing this post from the back office at Delancey, where I’m holed up, working on a deadline, while Brandon and Co. prepare a five-course meal for forty-five in celebration of a gorgeous new book. Deadline: I will destroy you. In more ways than one. But I had to take a break to pop into this space, and to send up a cheer – if you can, in fact, hear me from back here behind the Essex walk-in – that it has been nine years today since this site was born. Nine! I was a delinquent graduate student then, giddy to be creating a space to write about things other than Michel Foucault and discourse analysis and anything described…
Read moreA rare benefit
I’ve started this post four different times now, on five different days. I’m already tired of it, and I still haven’t figured out how to start. Does that ever happen to you? Do you do what I do and take a “break” to raid the walk-in at Delancey for chocolate chip cookie dough? Do you tell yourself, What harm could it really do if I listened to Freedom ’90 again? Do you ever wonder if you’ve missed your chance to be a dancer in a Janet Jackson video? Shall we start this thing already? First, I want to tell you that I was elated by your response to Delancey. Totally elated. Ecstatic. Even slightly stoned. I’m still coming down from it. Thank you so very, very…
Read moreNot a tomato sandwich
So, I turned 33 a couple of days ago. And Brandon, who was but a pup of 23 when I met him, turned 30 a few days before that. Thirty! The staff at Delancey wrote BRANDON TURNS OLD TODAY on the chalkboard and spelled out OLD BOSS in alphabet magnets on the ice machine. He told me that he hasn’t thought much about being in his thirties, but I think he secretly likes the idea. I’m on the fence sometimes, but mostly, I do too. In any case, thank you for your patience. In my absence from this space, there was a return flight from Ohio, writing, more writing, payroll, a birthday cake, a big project for a friend, and…
Read moreWhat this summer felt like
Labor Day sneaked up on us. We fell asleep last night with the windows open, and this morning, there was a chill in the house. I know I’m not supposed to say it, but I think something is changing. When I think about this summer, these are the pictures I want to think about. They’re what this summer felt like. I’ve taken a lot of ferry rides. I’ve eaten a lot of melon. I’ve eaten a lot of strawberries. I’ve eaten fried chicken and lemon icebox cake and zucchini. I’ve been eaten by a lot of mosquitos. I’m ready. Happy Labor Day.
Read moreBut then
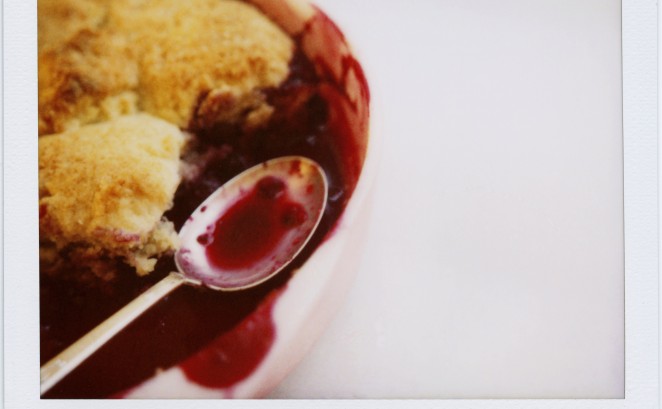
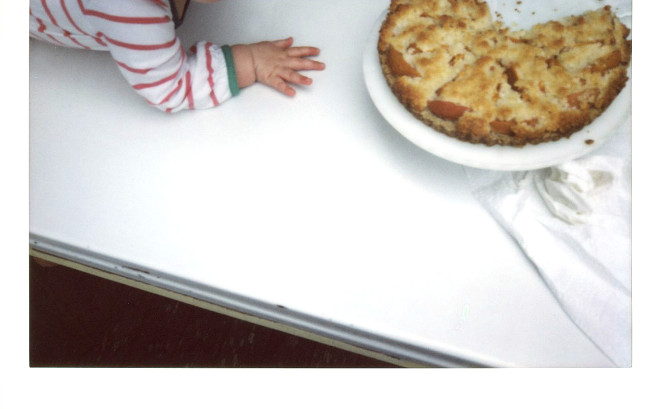
I can’t believe we haven’t talked about berry cobbler yet. August 27, and we haven’t talked about berry cobbler. I’ve got to fix that. For a long time, I didn’t get terribly excited about cobbler. I think you’re either a cobbler person or a crisp person, the same way that you’re either a cake person or a pie person. My mother is a crisp person, and that’s what I grew up eating. I can be swayed by crumbles as well, mostly because they’re often indistinguishable from crisps, and also because crumble is such a nice word for a dessert. It sounds exactly like it tastes. (On a side note: did you know that French speakers pronounce it crum-bell? It’s awesome.…
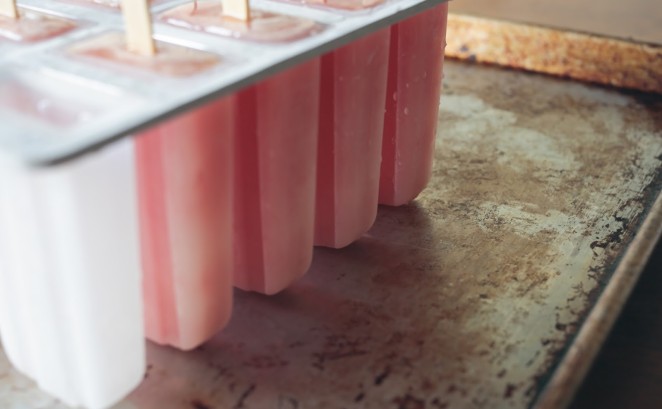
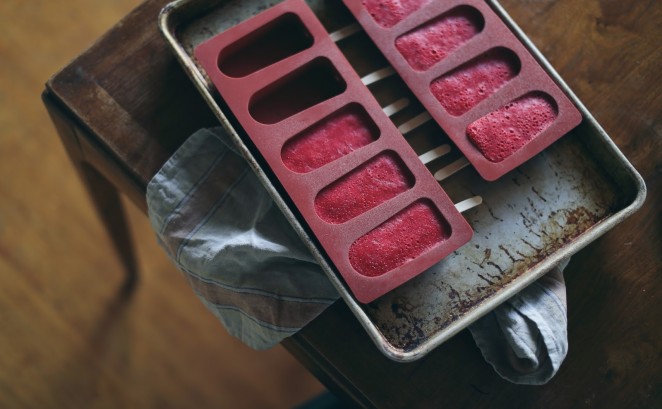
Read moreFor a popsicle
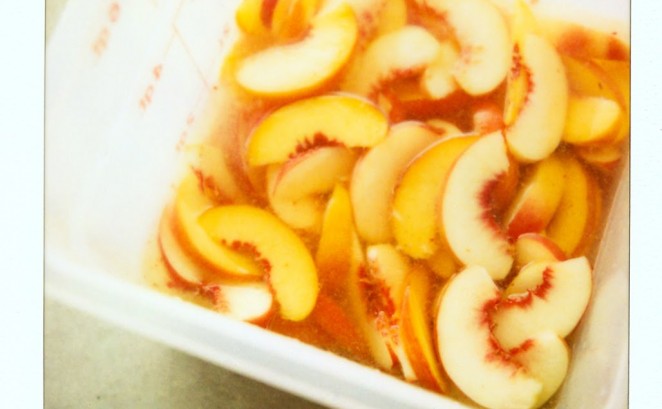
Summer is not messing around. Not only did it arrive right on time, on July 5, but the thermometer hit 94°F only three short days later. I know 94°F sounds like nothing to those of you melting along the Eastern Seaboard, or in Berlin, but when you consider the fact that my city spent the 4th of July in wool sweaters and knit tights and rain gear, it’s hot. I celebrated by making iced coffee. And iced tea! I sat on the couch, not moving, and broke a sweat! It’s been spectacular. Where I grew up, in Oklahoma, summer shut us inside. Unless you were submerged up to the neck in a swimming pool, it was too hot and humid…
Read moreSummer list
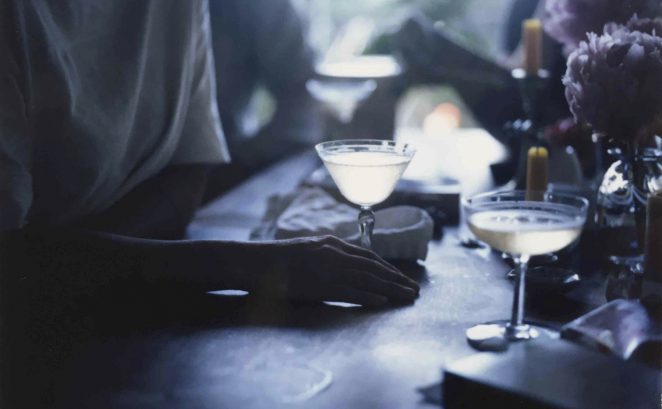
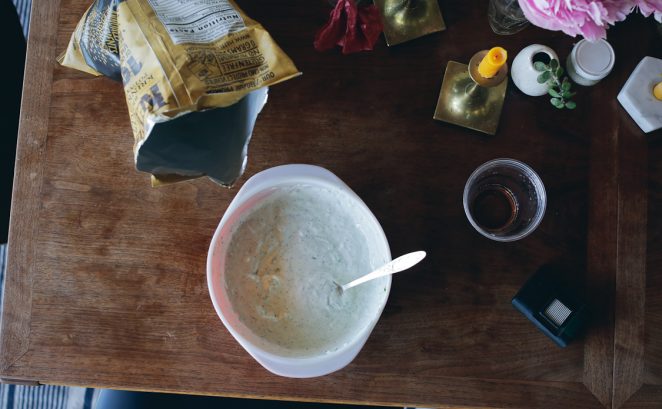
They say that in Seattle, summer doesn’t start until July 5, and they are not joking. Look at this! Look at it! And then compare it to the past month! I like the 4th of July, but HURRY UP, JULY 5TH. (I should note that, in my exuberance, I accidentally mistyped the above as “HOORAY UP, JULY 5TH,” which I can only assume is the compound of “hooray” and “giddyup” and is also, coincidentally, an accurate expression of how I feel.) In celebration of the fact that summer is coming tomorrow, I pulled out some photographs from the past couple of summers. I’m setting the mood. There was an evening last July when we ate chips and salsa and floated…
Read moreTonight at five
It’s very peaceful at Delancey right now. I’m going to try to remember what this feels like. Wait. Is the art in this photo crooked, or is it just me? Maybe my eyes are crooked. Anything is possible. Delancey opens tonight at five. There’s no signage outside the building yet, but that’ll be fixed soon. It’s at the top of our to-do list. In the meantime, for those of you in the Seattle area, maybe this map will help you find us? Our address is 1415 NW 70th Street. (It might be helpful, too, to know that we’re one block north of Ballard High School, directly across the street from a bar called Tarasco, and right next to Honore Bakery.)…
Read moreFiguring it out
I meant to post this last Friday. You can see how well I did with that. I also meant to take a picture of some pizza, since that’s what this whole business is about, but that didn’t work out either. The cook we hired to help Brandon with the pizzas didn’t show up for his first official day of work – the day before our first pre-opening dinner – which has left only Brandon and me in the kitchen. That means that I do my work at my station, run over to his station to help top and finish pizzas, and then run back to my station again. This has not left much time for photography – or breathing, or…
Read moreOn cue
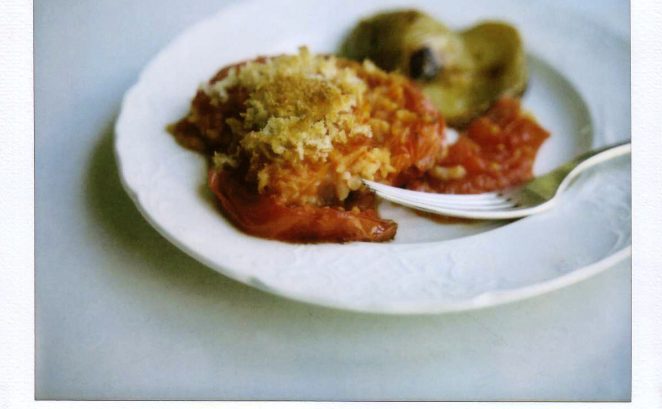
I don’t make many demands around here, but today, I have to. So listen up. (Please.) Get a pen and a piece of paper. Then write the following: 4 large tomatoes 1 yellow onion Arborio rice Fresh basil Breadcrumbs Potatoes Now, go to the grocery store or market or wherever, and buy everything you wrote down. Go on! And don’t forget to preheat the oven. Tonight, for dinner, you are having Luisa Weiss’s tomatoes filled with rice. (With a couple of potatoes on the side.) This photograph hardly does them justice, but trust me: you are going to love these tomatoes. I say that as someone who doesn’t, under ordinary circumstances, even like tomatoes filled with rice. Prior to last…
Read more